Basic Sourdough Bread
This is a great formula to practice on, or if you just want a tasty loaf of crusty bread! It requires some planning ahead, but it’s so worth it.
The hardest part of making bread, for me, is being patient. I’ve been baking sourdough bread for 4 years now and I still have trouble with this.
This recipe makes 2 large loaves of bread. If I’m just baking for myself I usually make smaller loaves (about 3/4 the size of these) but if I’m bringing bread to a gathering I’ll make loaves this size.
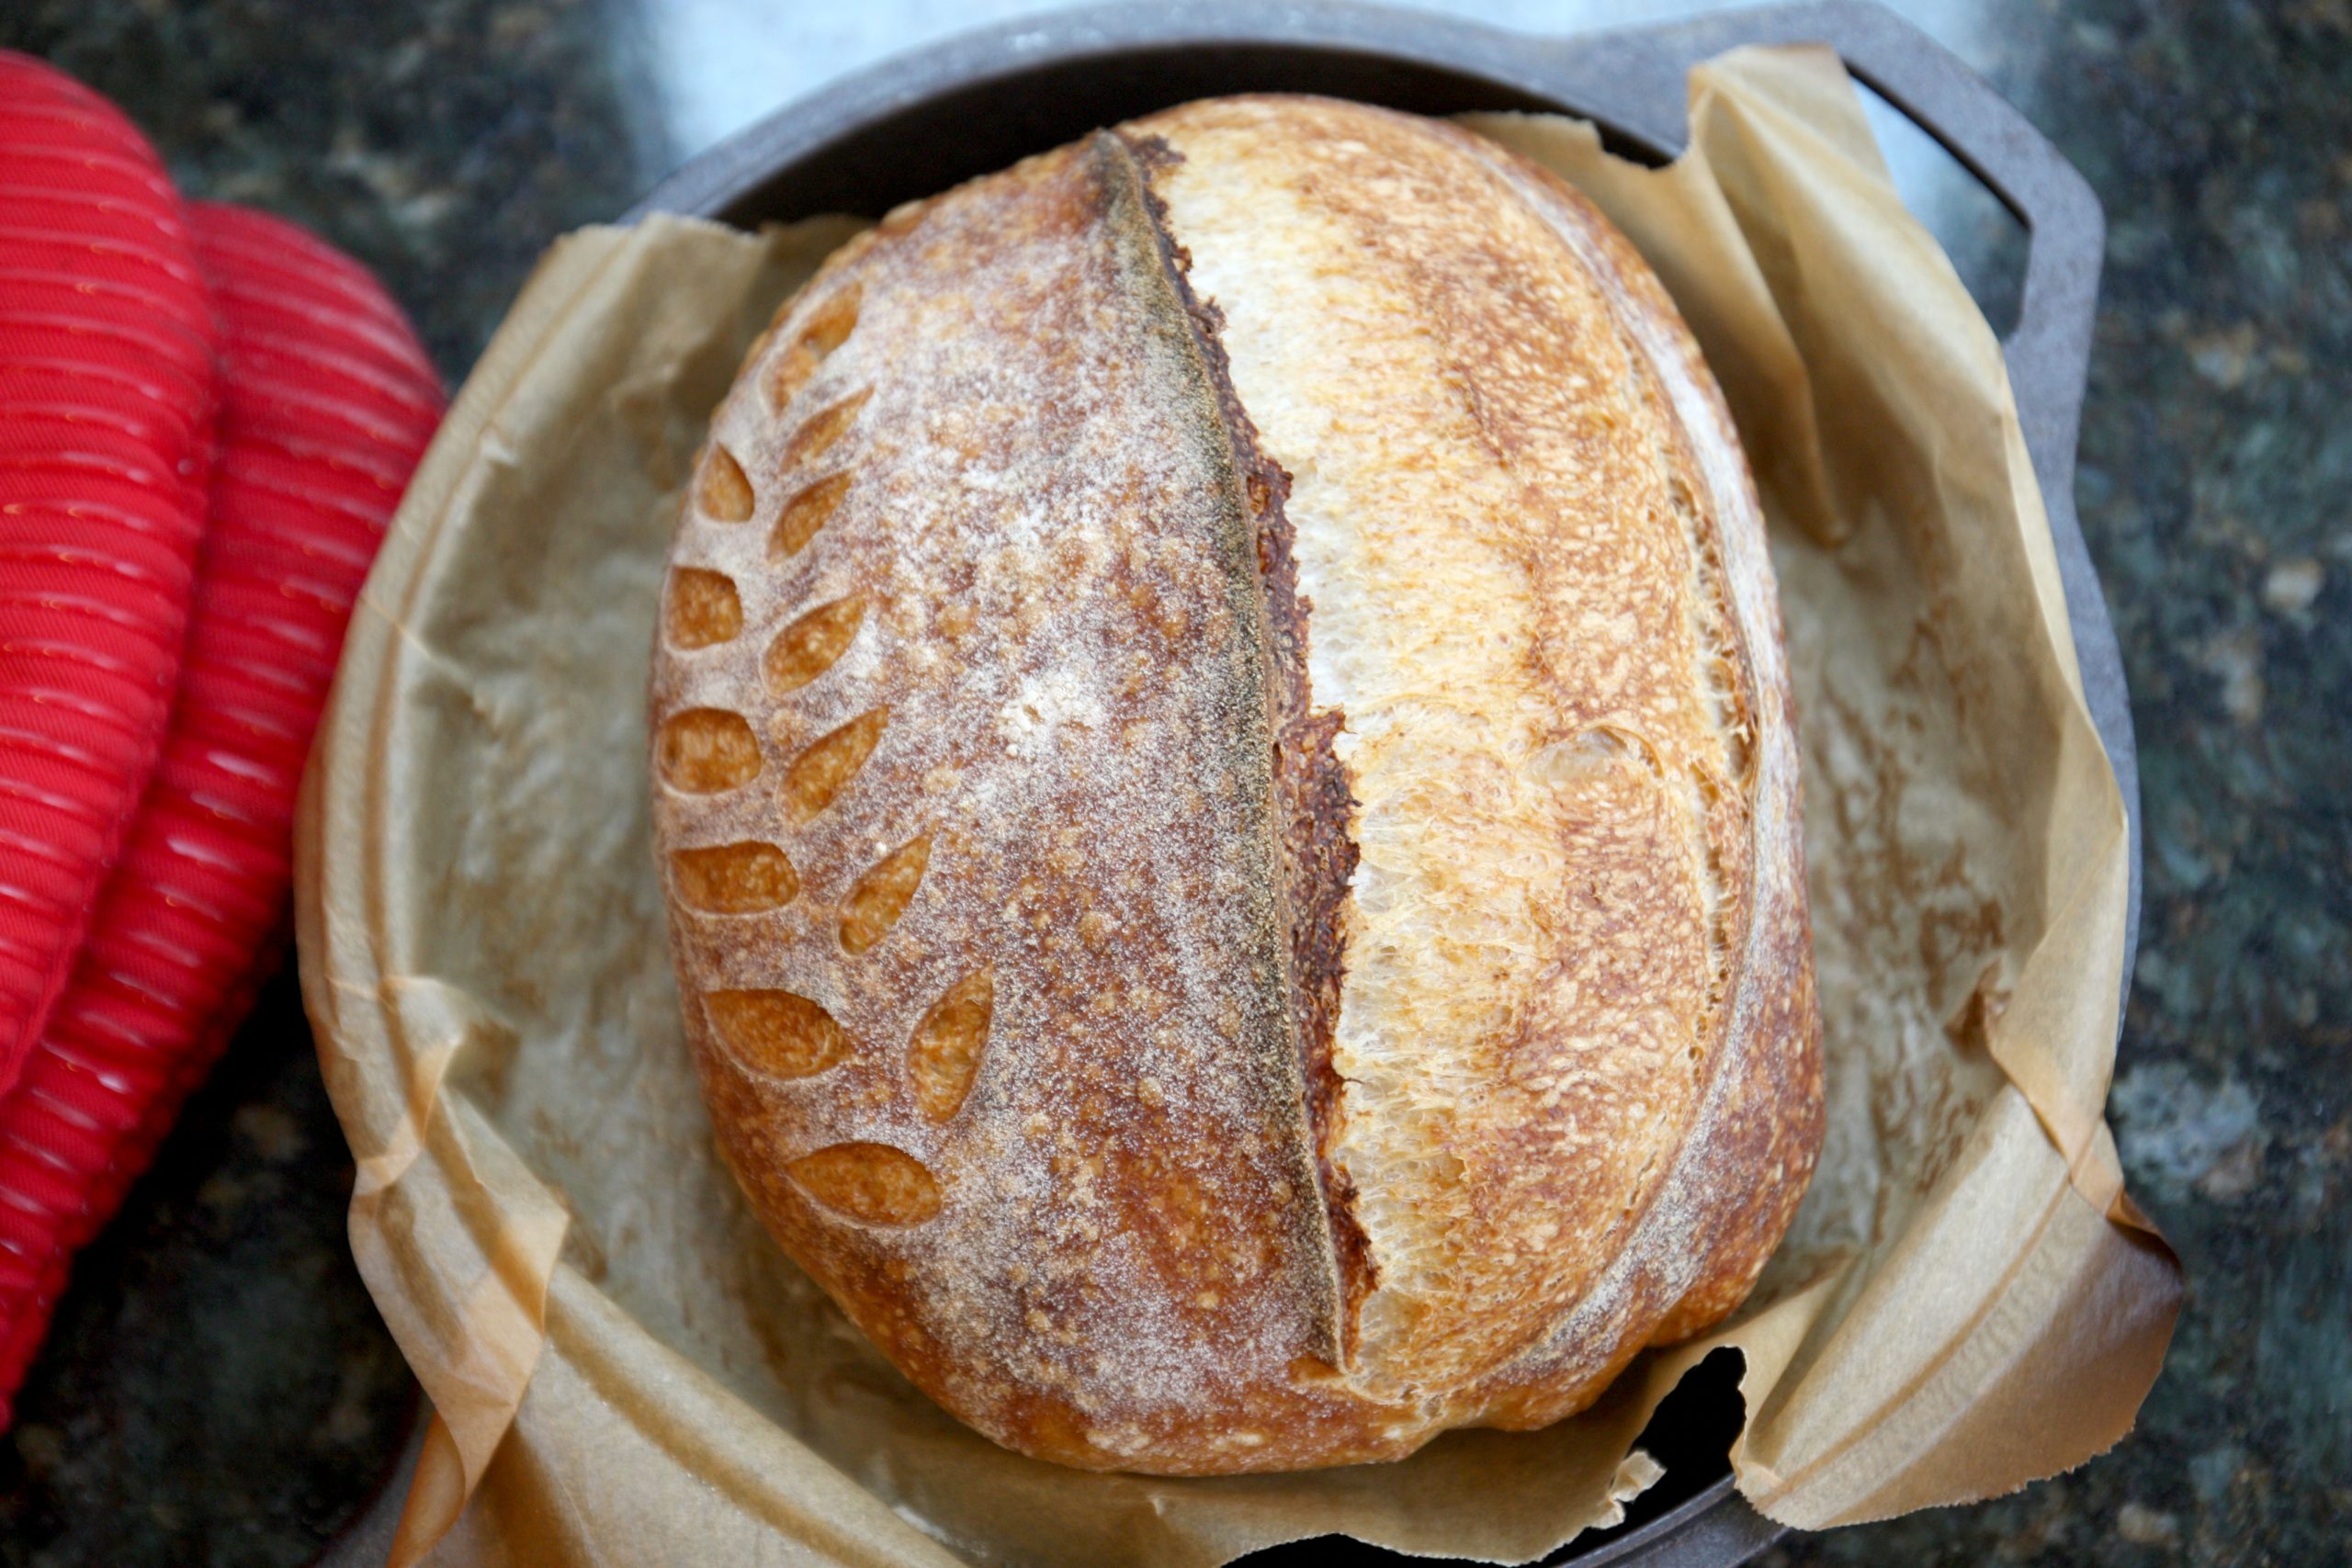
If you think you’ll want to regularly make bread, there are a few things that are really helpful to have.
- Kitchen Scale
This is probably the most important piece of equipment. All of my bread recipes are calculated in grams. This makes measuring so much easier and more accurate. I have this one and have been pretty happy with it. - Proofing Baskets (Bannetons)
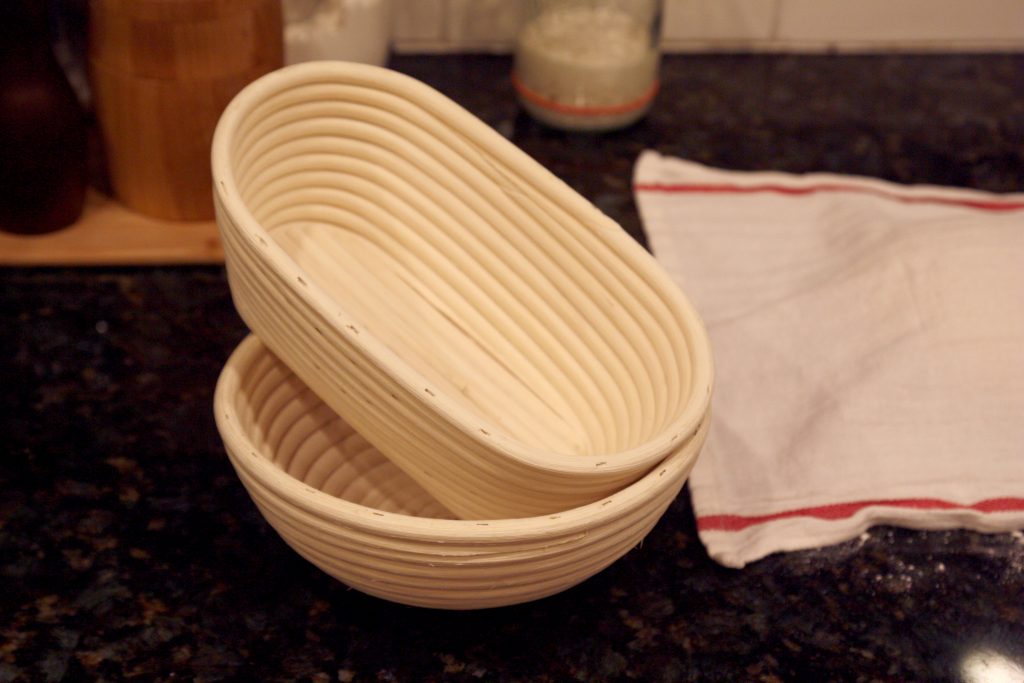
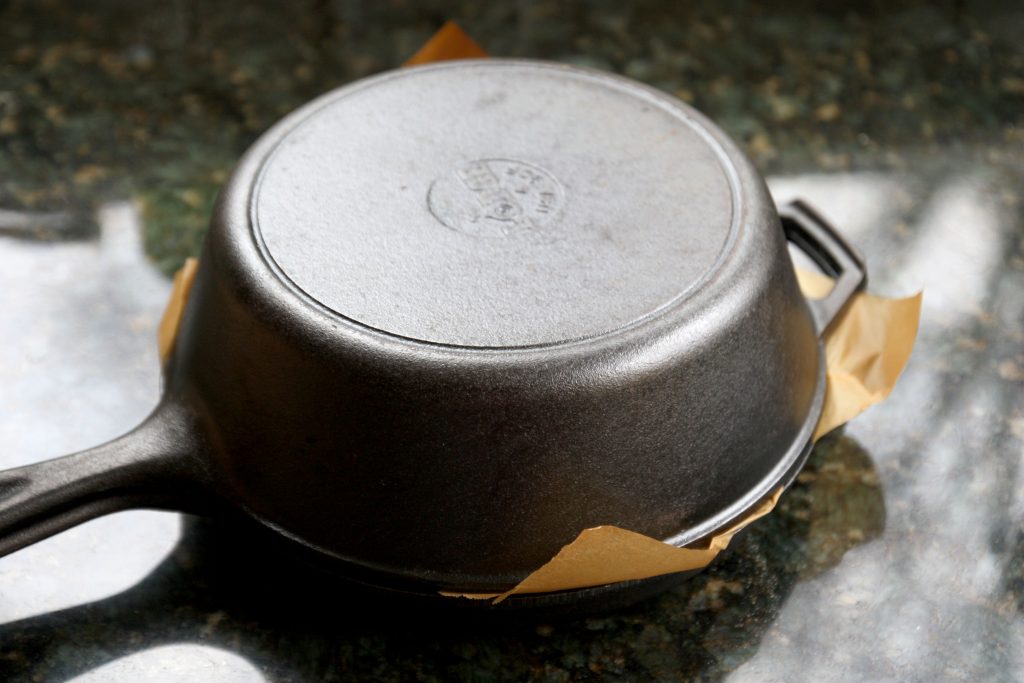
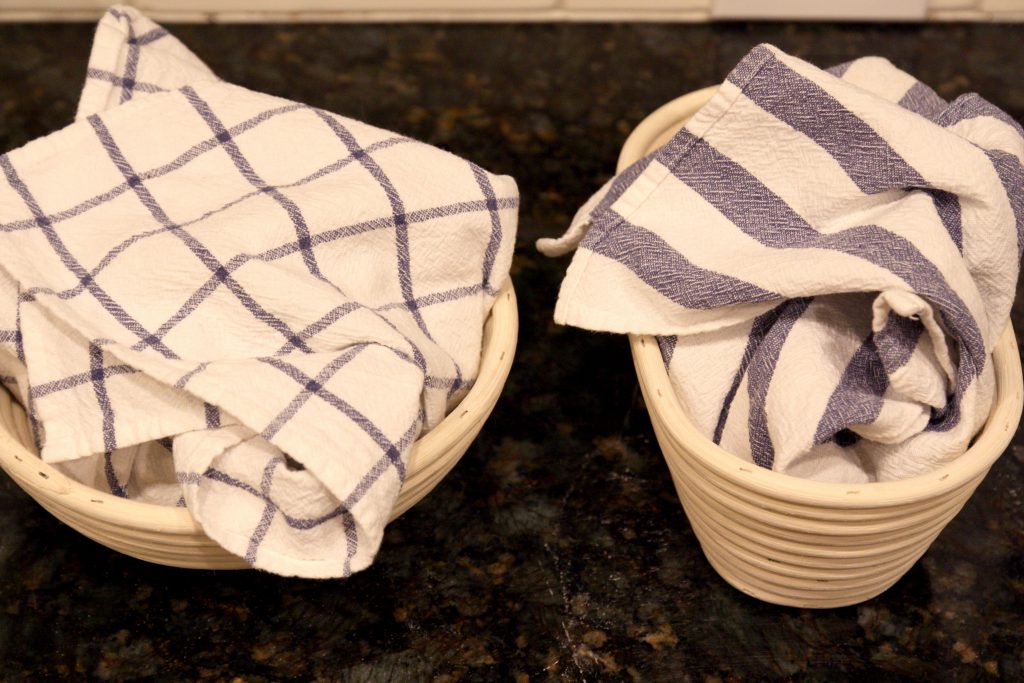
You can use round or oblong baskets. Some come with liners but you can always use tea towels or just flour the basket really well. Regular baskets can work too, just line them with a tea towel. You can also use a colander lined with a tea towel. In a pinch you can use a bowl lined with a tea towel, but the dough really wants to be able to breathe while it’s proofing. The bannetons I use are 8.5″ round and 10x6x4″ oblong. - Oven safe lidded dutch oven or cast iron combo cooker (pictured below). You can also bake on a baking stone but you’ll need to also use a steam tray to get a good rise (oven spring).
- Parchment paper is not a necessity but I find it helps when transferring the loaf to the dutch oven or combo cooker.
- Lame, double edged razor blade, or sharp knife
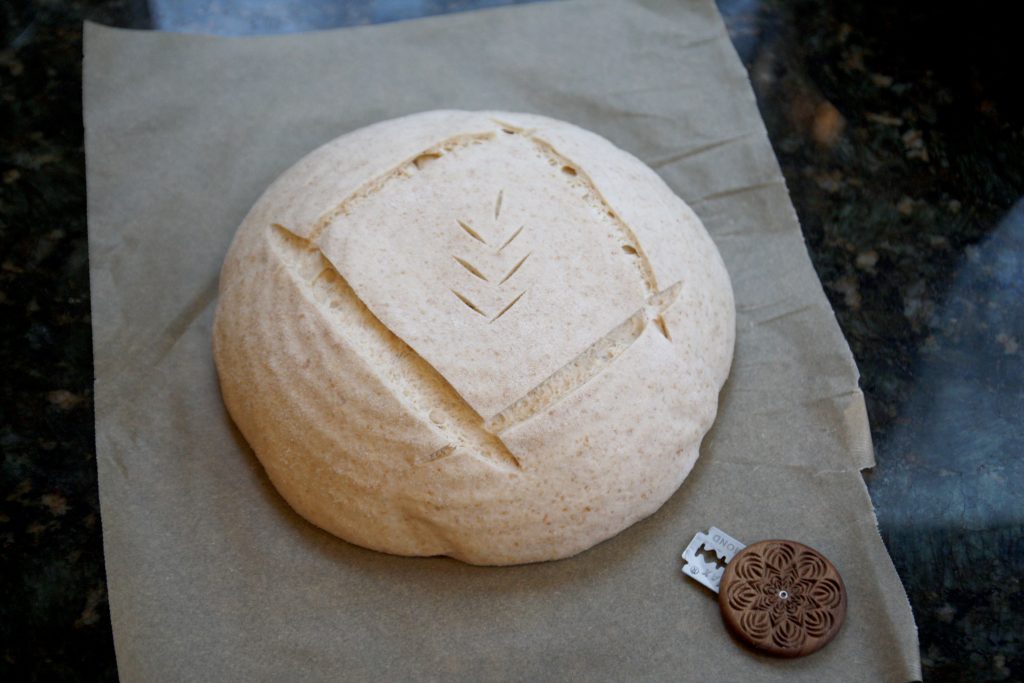
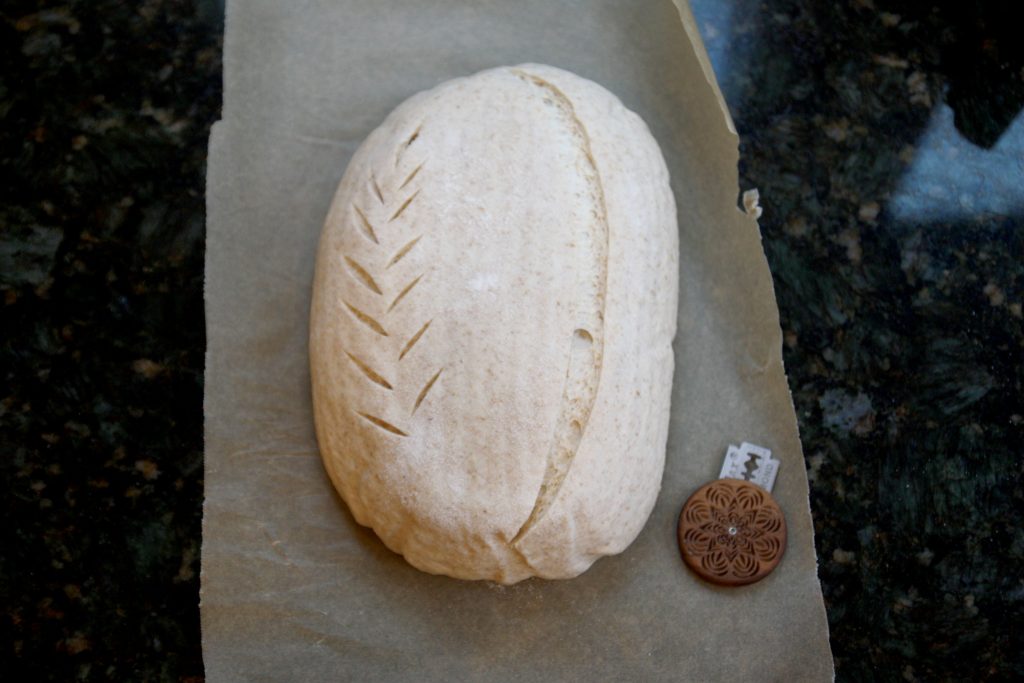
I use this great UFO lame from wiremonkey.com. It’s basically a safe way to store and hold a double edged razor blade.
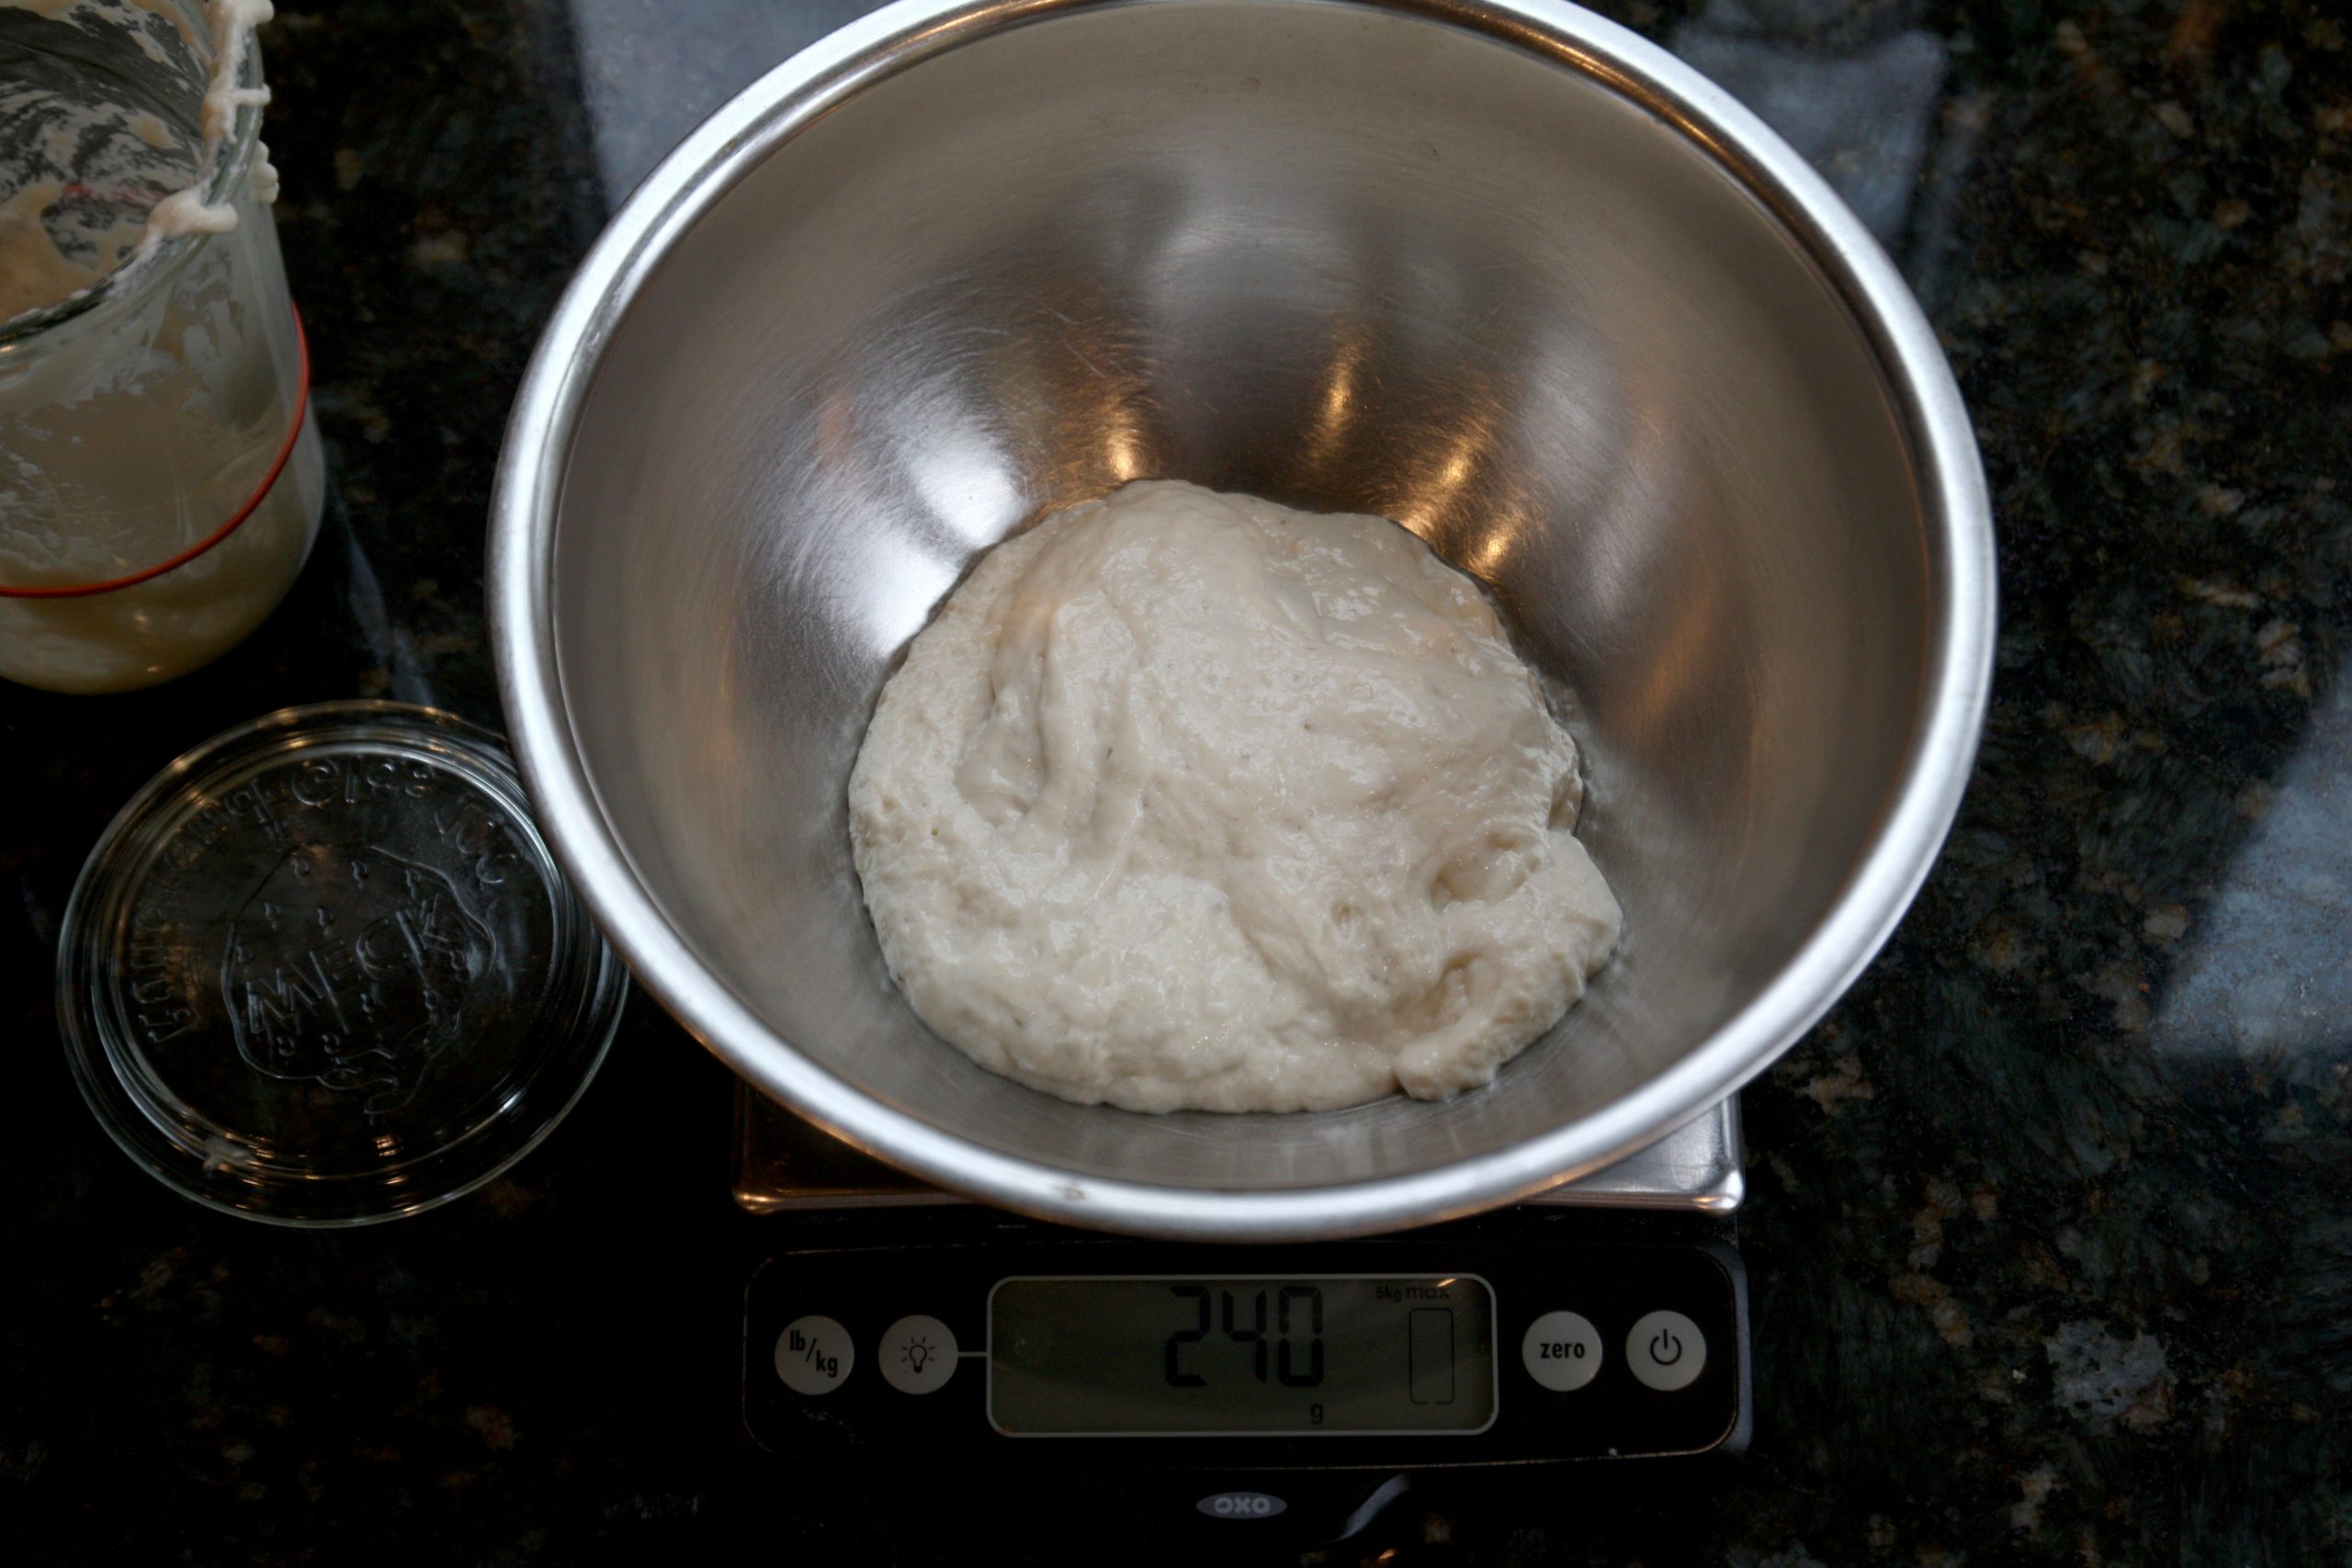
The first thing you’ll need to do is get your starter ready. If it’s been in the fridge for a while it will need at least a couple feedings before it’ll be ready to use. I keep my starter at 100% hydration, which means I feed it equal parts flour and water (by weight). I use all purpose flour for feedings but some people use bread flour or a mix of whole wheat and white flour. It doesn’t really matter.
Your starter is ready to use in a recipe (mature) when it has about tripled in volume and has not yet started deflating.
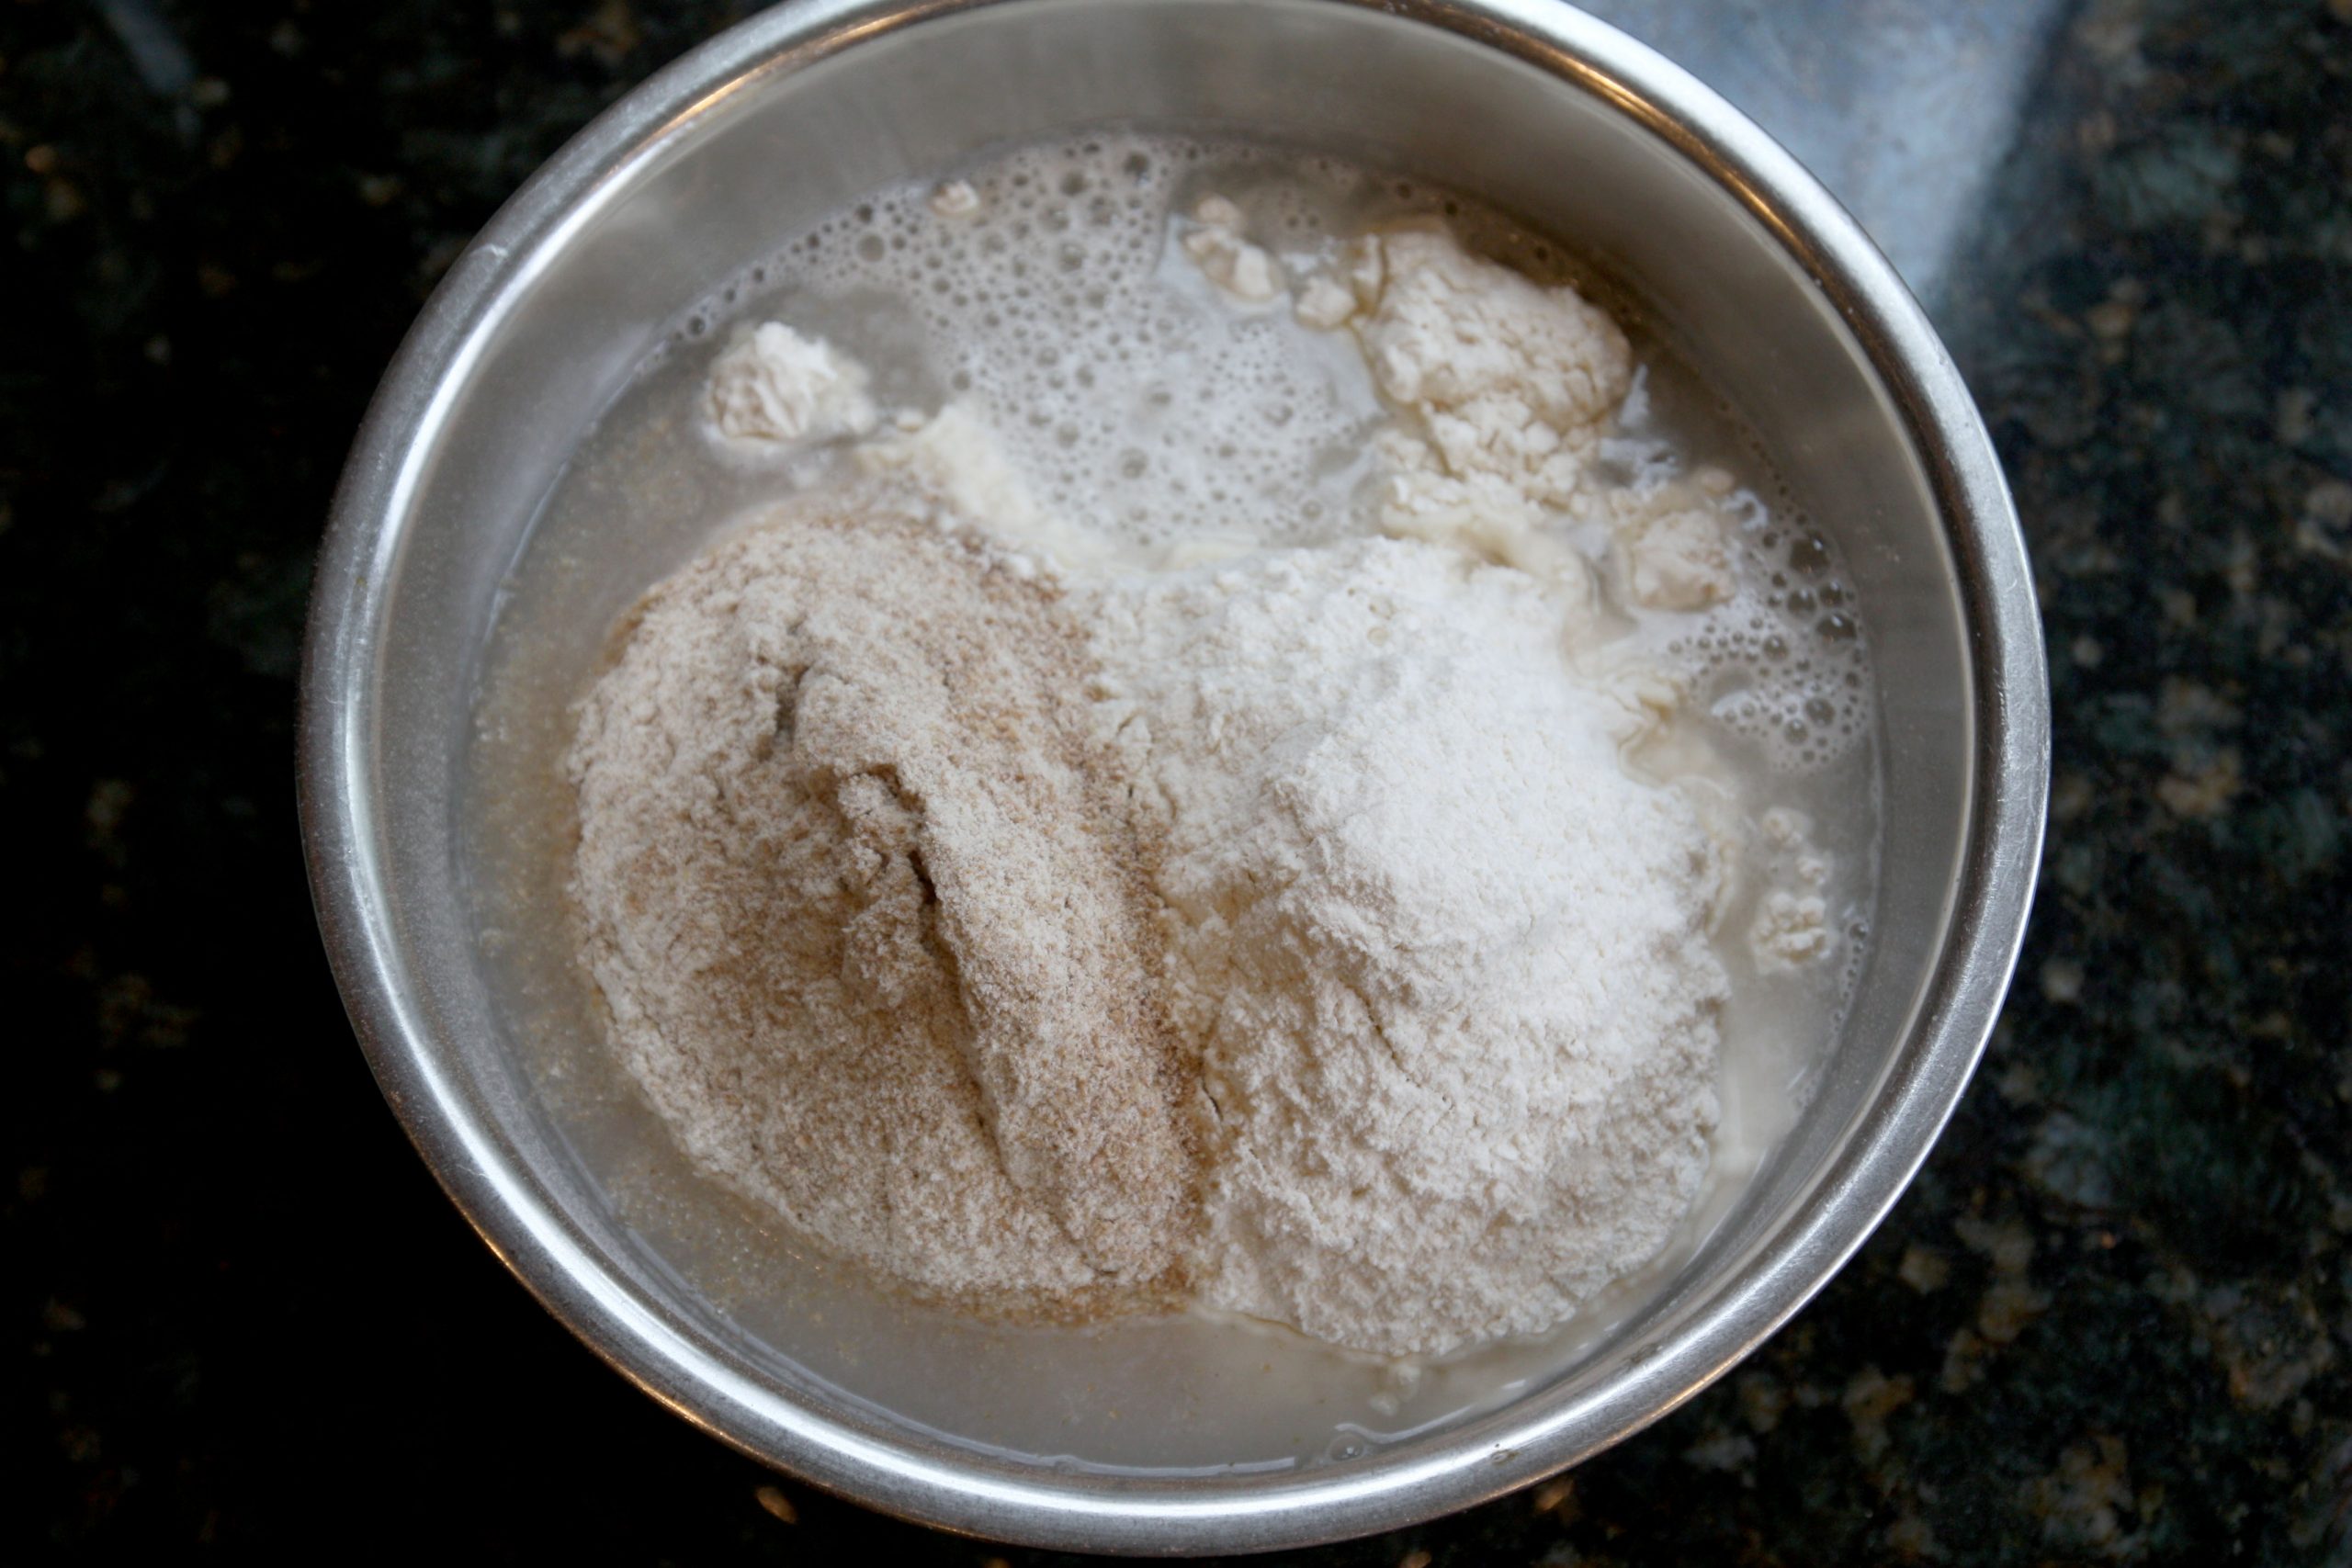
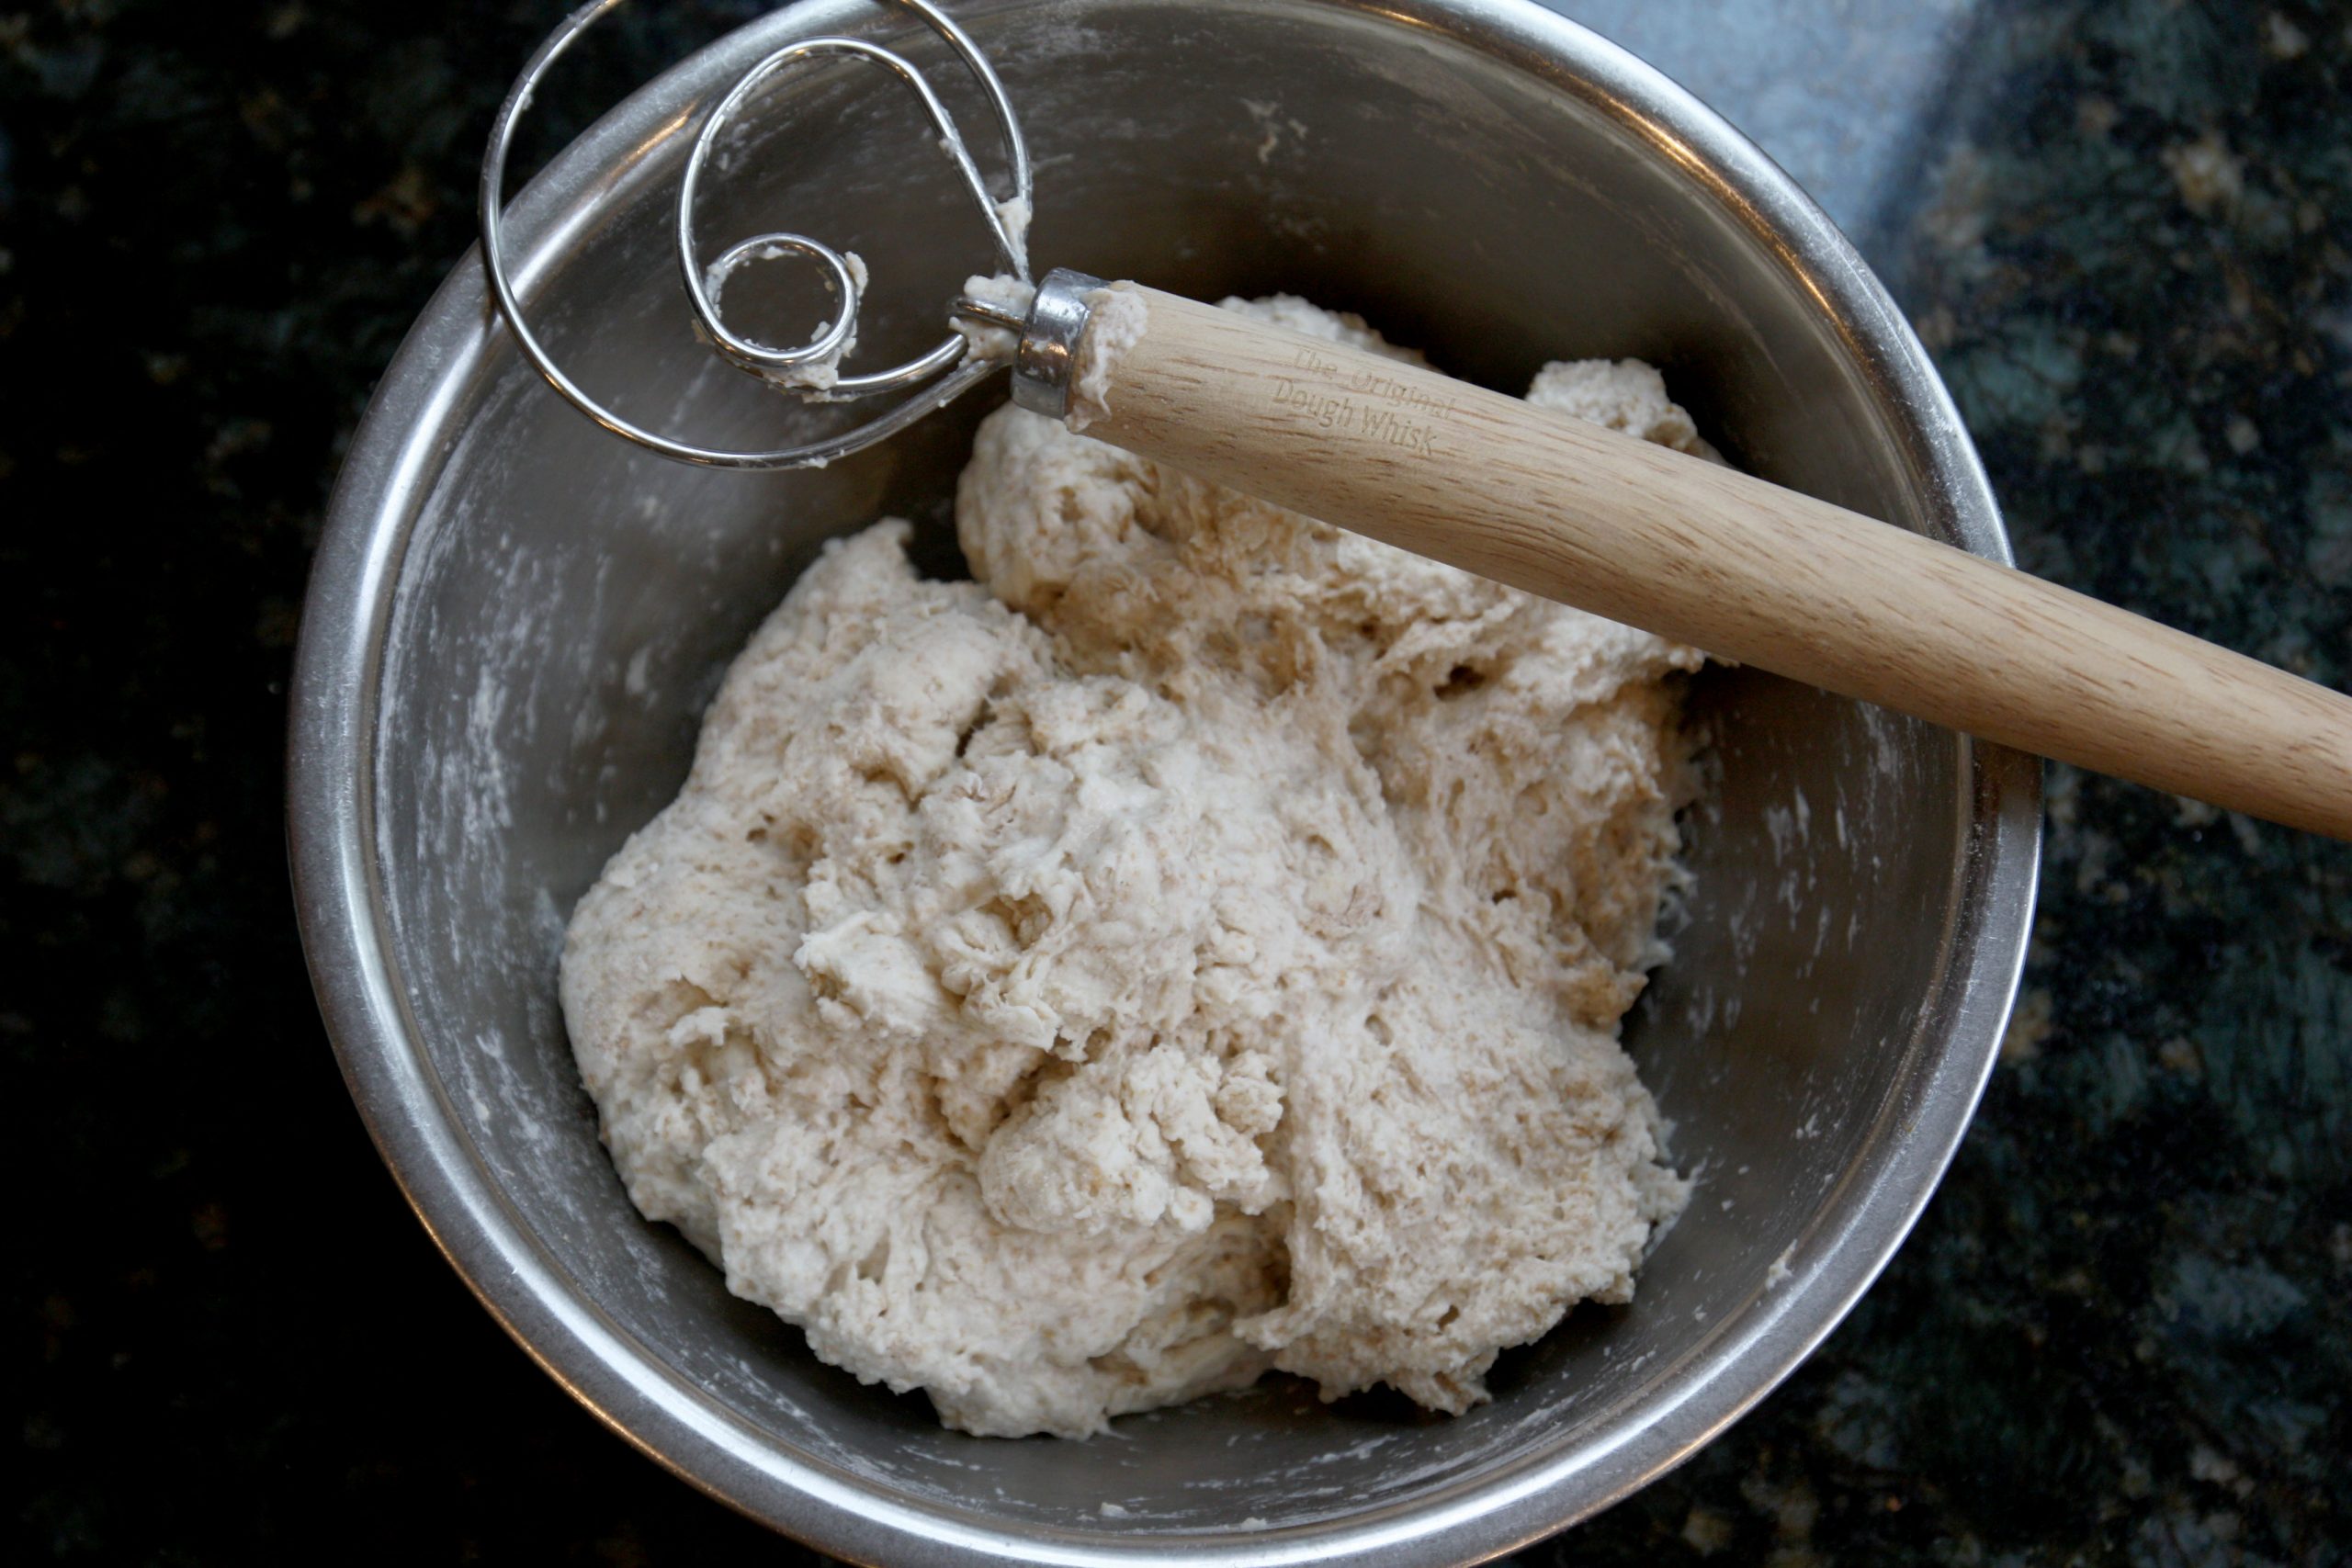
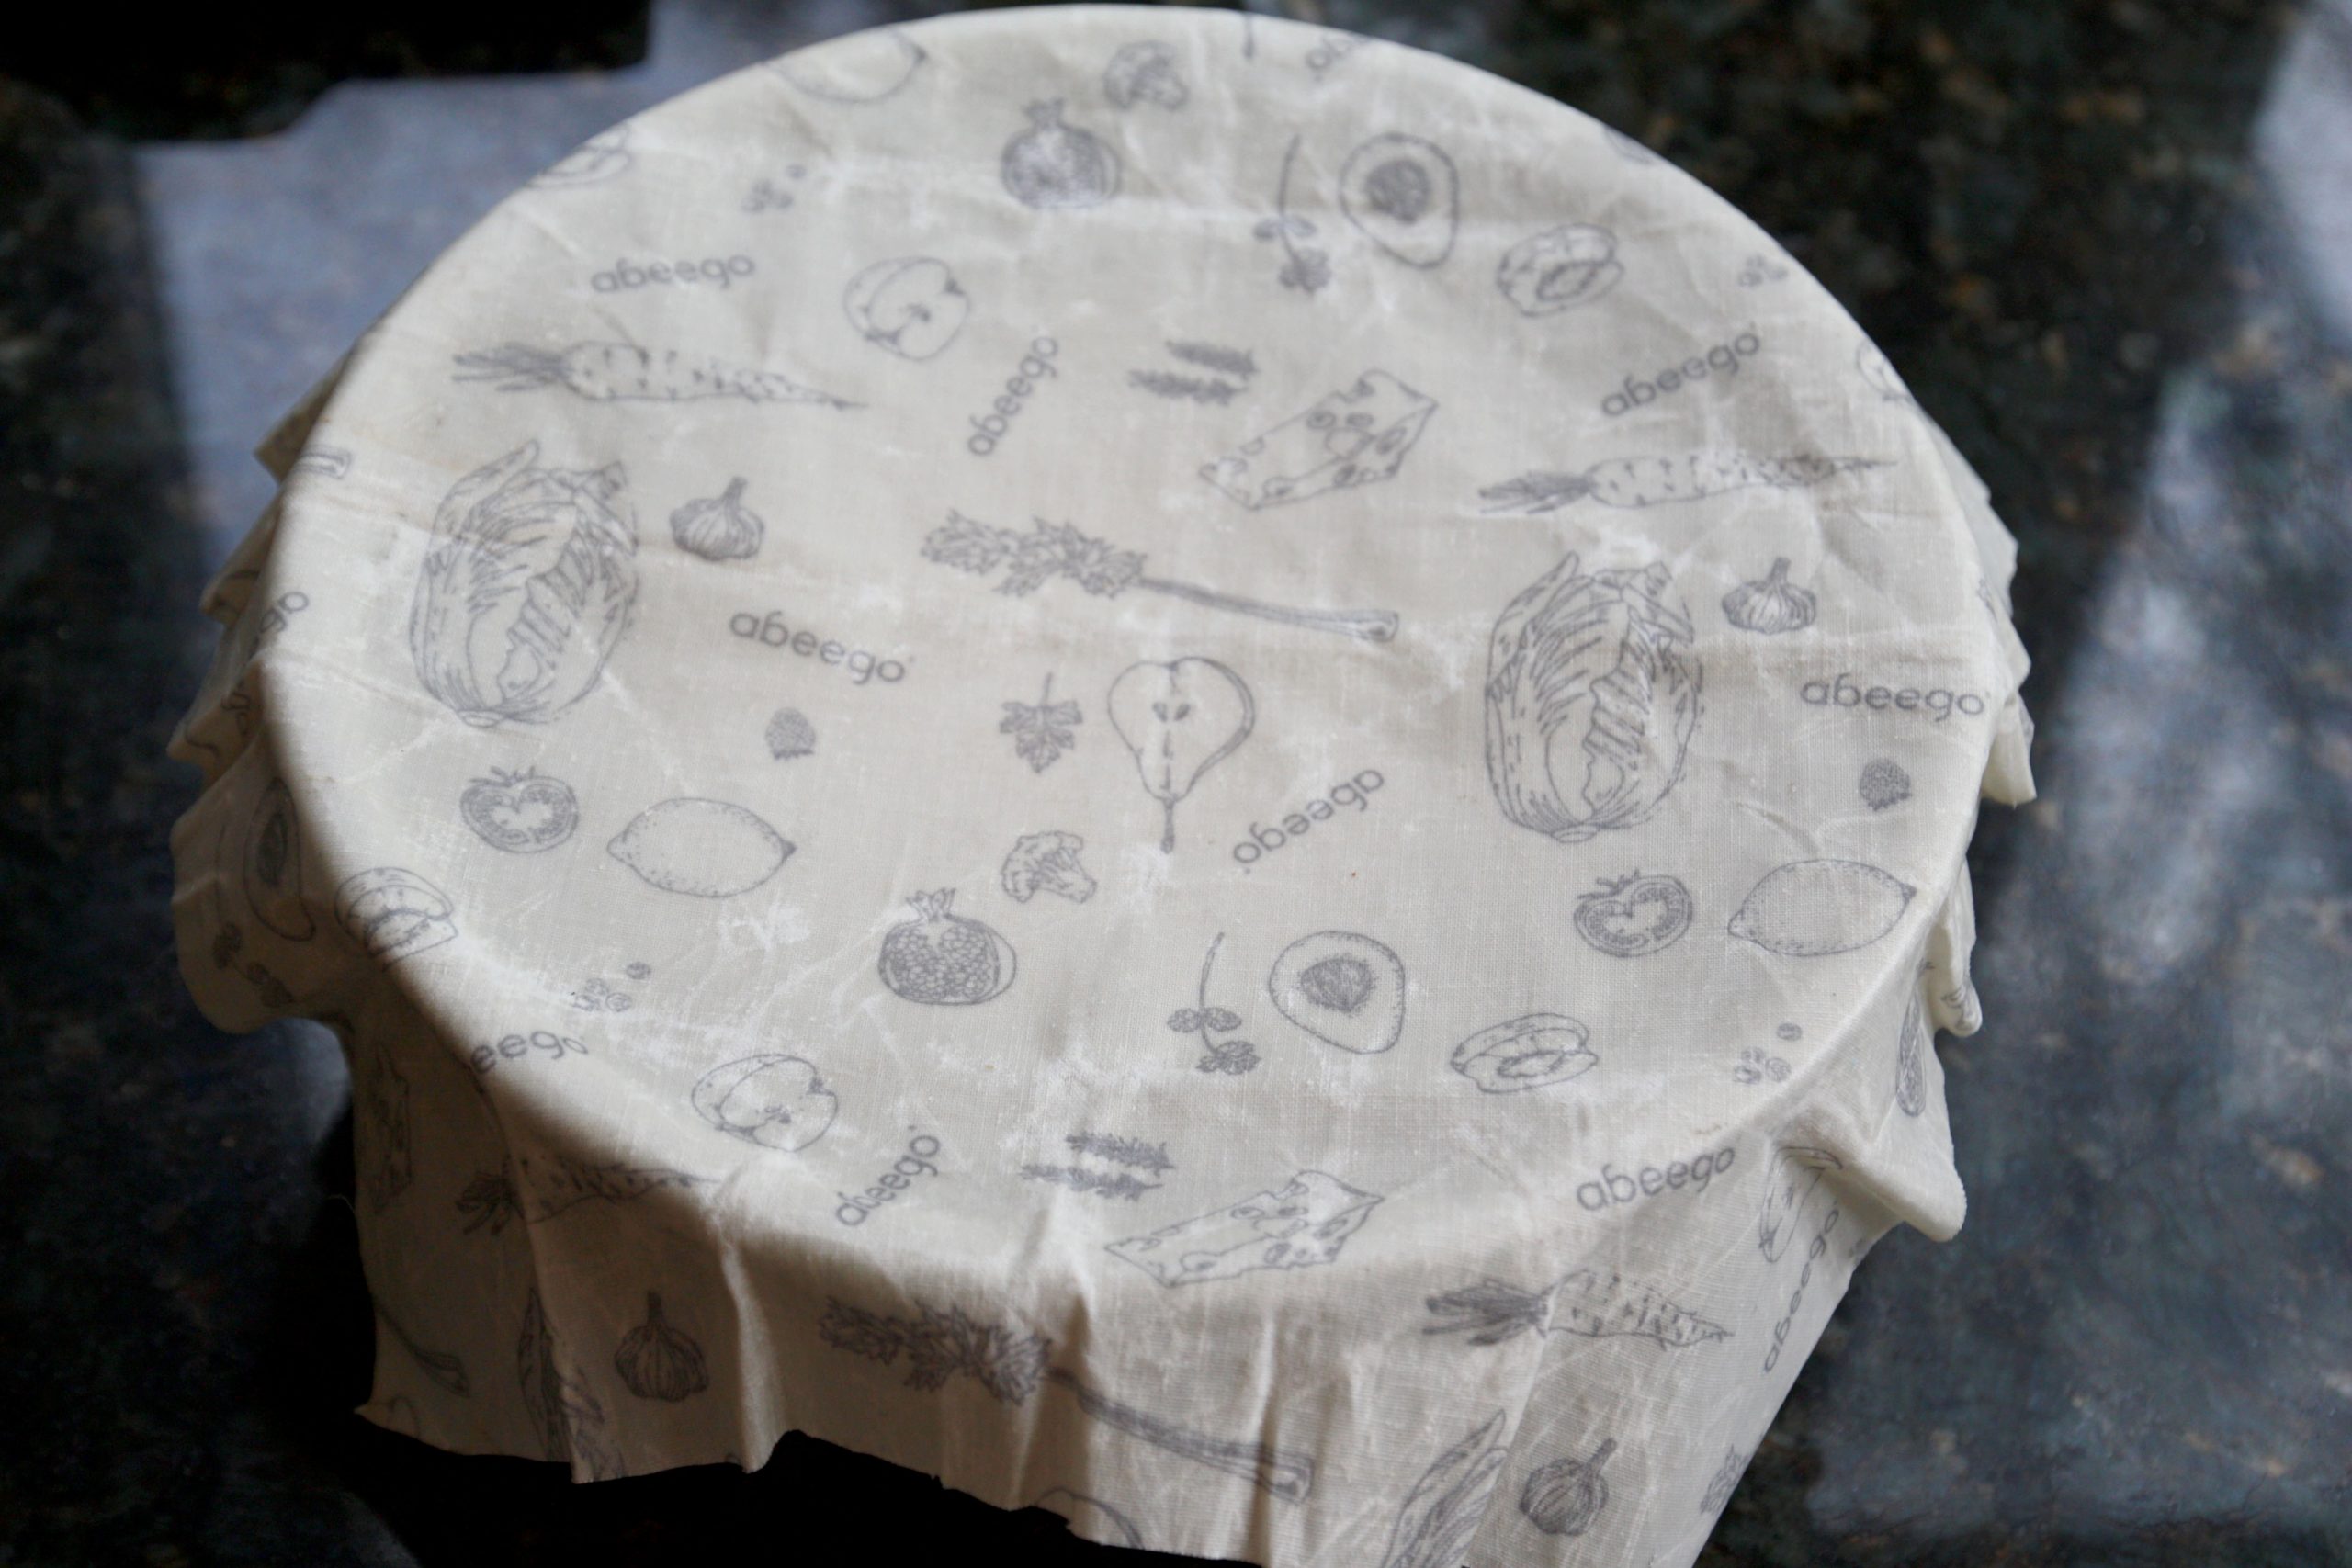
Combine mature starter, flours, and water in a large bowl. Mix until there is no more dry flour. Then, cover the bowl and let it rest for about 30 minutes to an hour. This step is called autolyse. It helps develop the gluten, which gives the dough strength. Some bakers do this step without the starter but I prefer to mix it in from the beginning.
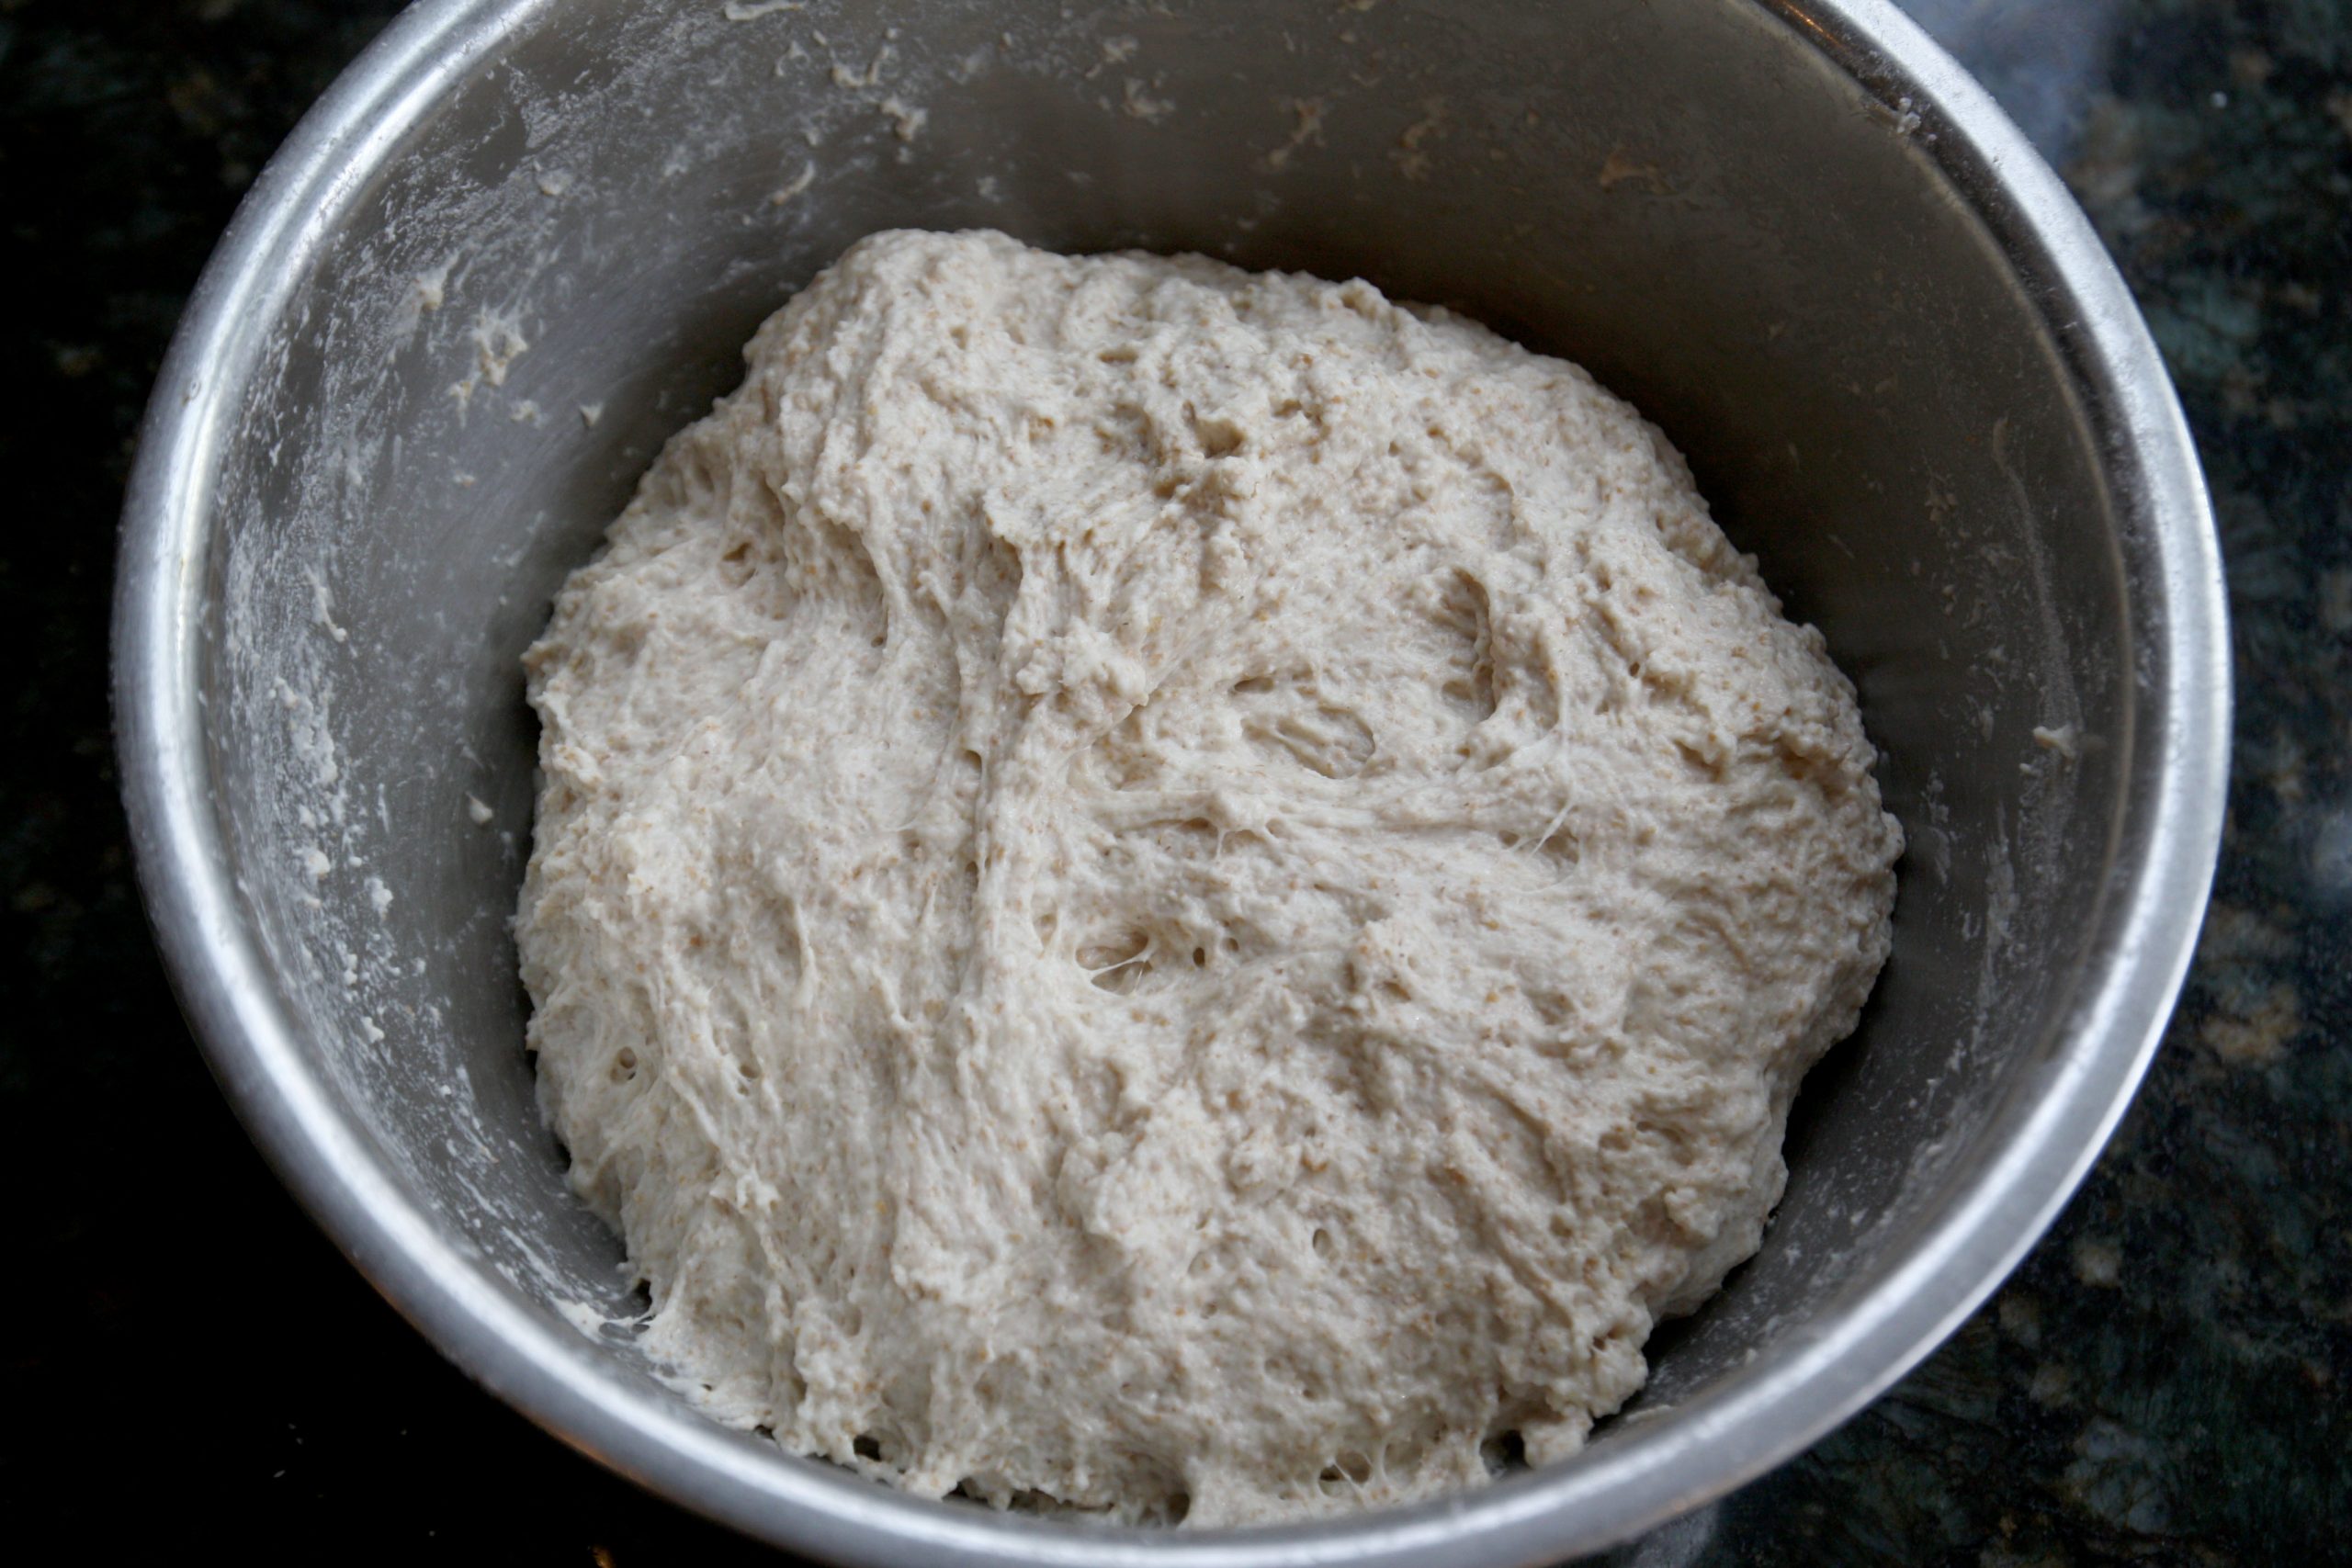
After the autolyse, sprinkle the salt over the dough and use wet hands to incorporate. Poke the salt into the dough and then just start squishing it with your whole hand. Then keep mixing for several minutes. I do this by grabbing an edge and folding it over, turn bowl and repeat, repeat, repeat until the dough is mixed well and you’ve started to space out a bit. If you don’t want to mix by hand you can use a stand mixer with a dough hook. Cover the bowl and let it rest. This is the beginning of the bulk fermentation period.
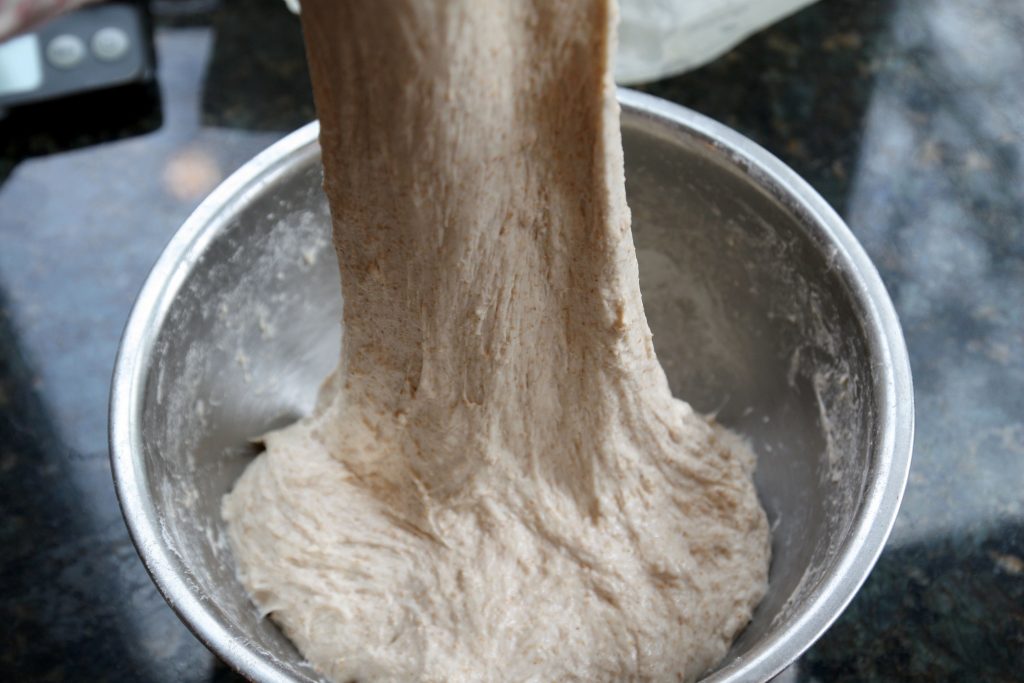
For the next couple hours, every half hour (or so, this is fairly flexible) you’ll do a set of stretch & folds. With a wet hand, grab an edge and stretch it up, then fold it over the dough. Then turn the bowl a quarter turn and repeat. Do this for all four “sides” then cover the bowl again and let rest.
These stretch & folds help strengthen the dough so there’s no need to knead it as you would with other bread doughs.
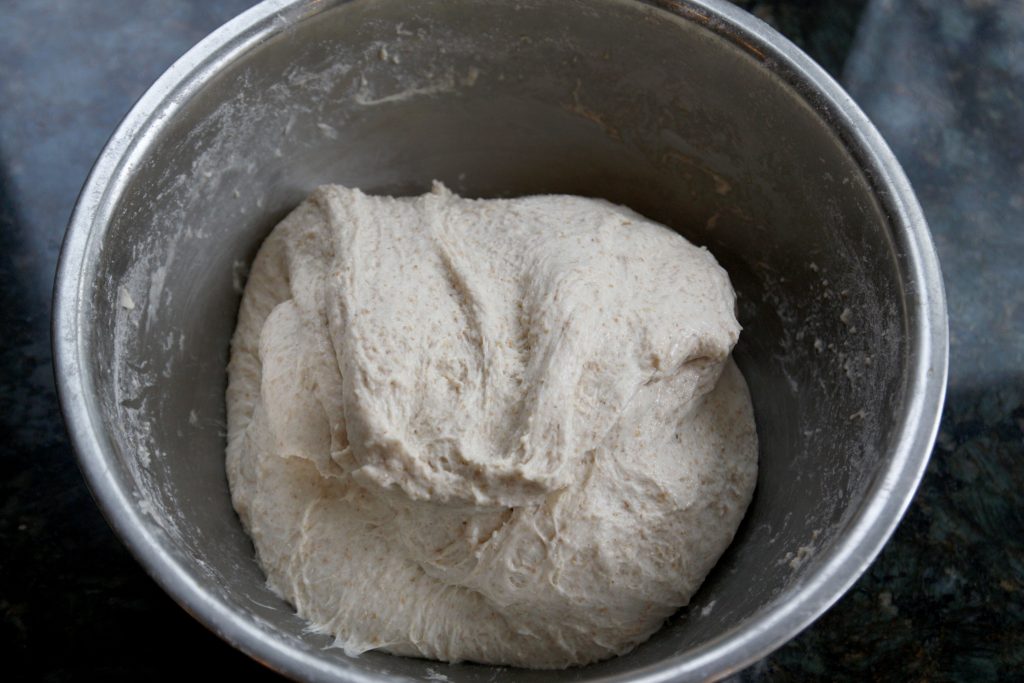
Once you’ve done about 4 sets of stretch and folds you can continue the bulk fermentation undisturbed until the dough looks about doubled. The amount of time it takes to do this really depends on the conditions in your kitchen, usually about 4-5 hours total (including the stretch and folds) for me in my 68-70°F kitchen.
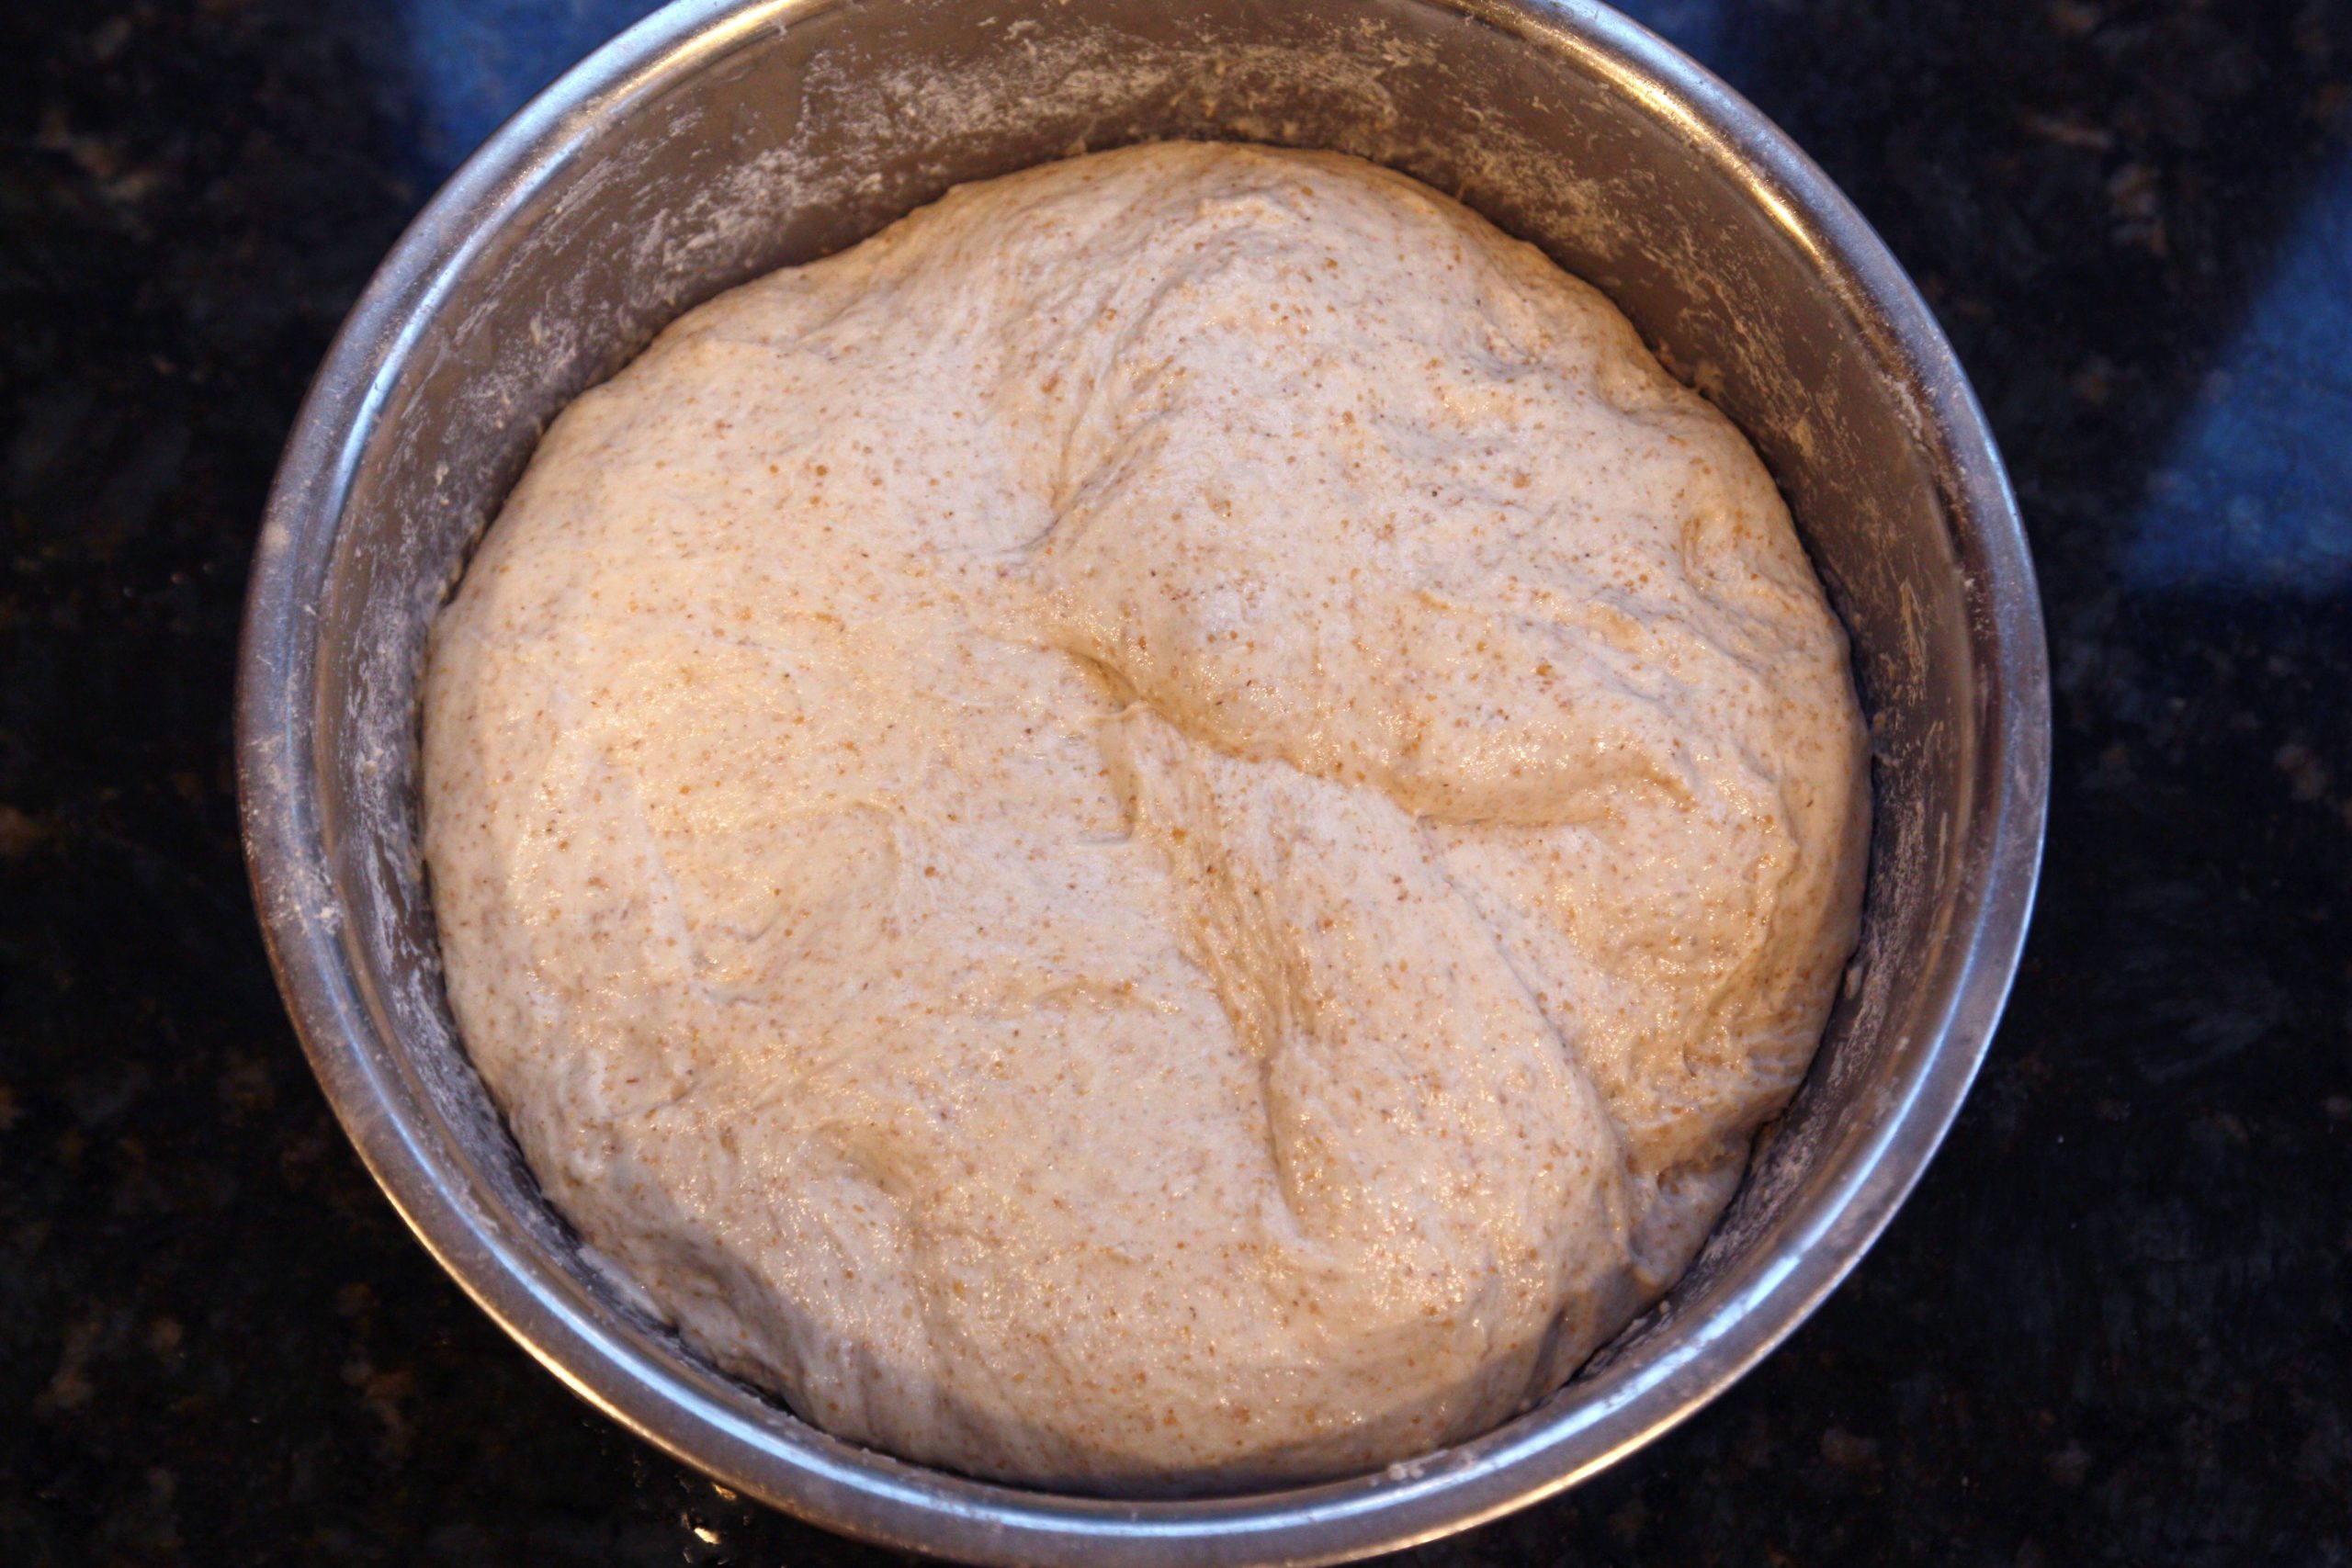
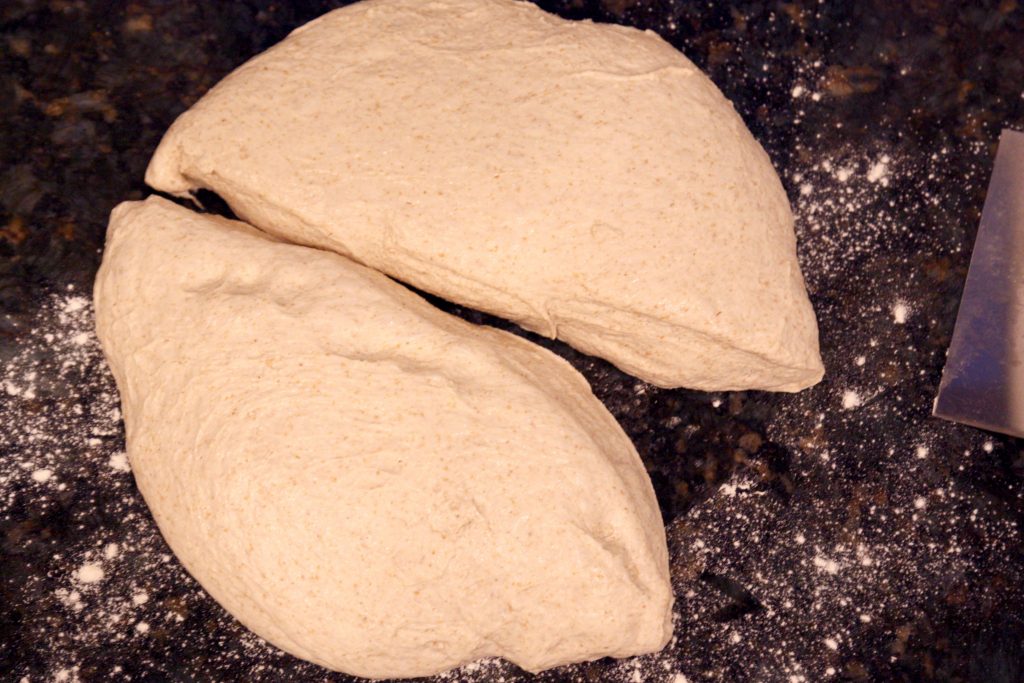
Once the dough has about doubled and has a nice jiggle when you shake the bowl, dump it out onto a lightly floured counter. Divide the dough into 2 equal portions. Preshape these portions into rough rounds and let rest, covered with a tea towel, for about 30 minutes. (If you scaled the recipe to make one loaf, you can skip this preshape and move right on to shaping.)
Prepare your proofing baskets (or colander or bowl) by lining with a tea towel and sprinkling liberally with flour.
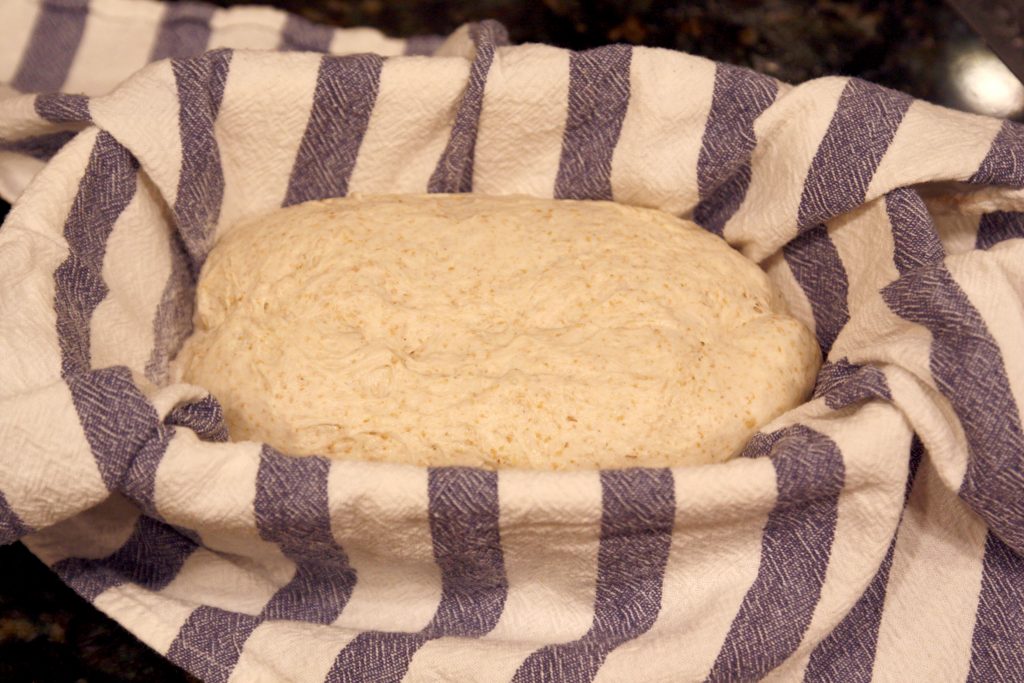
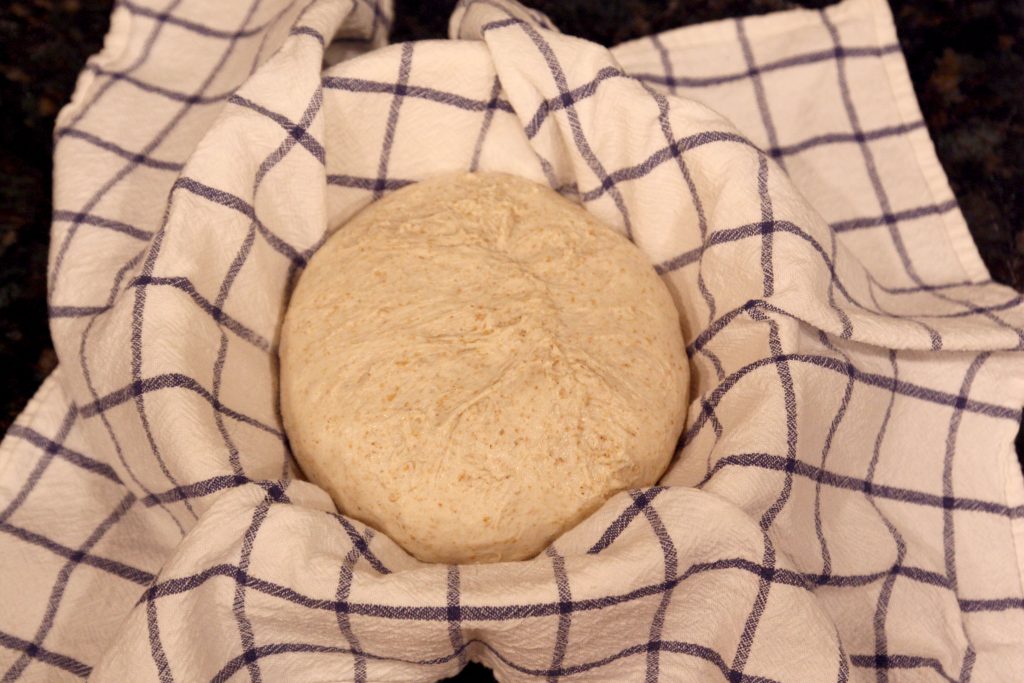
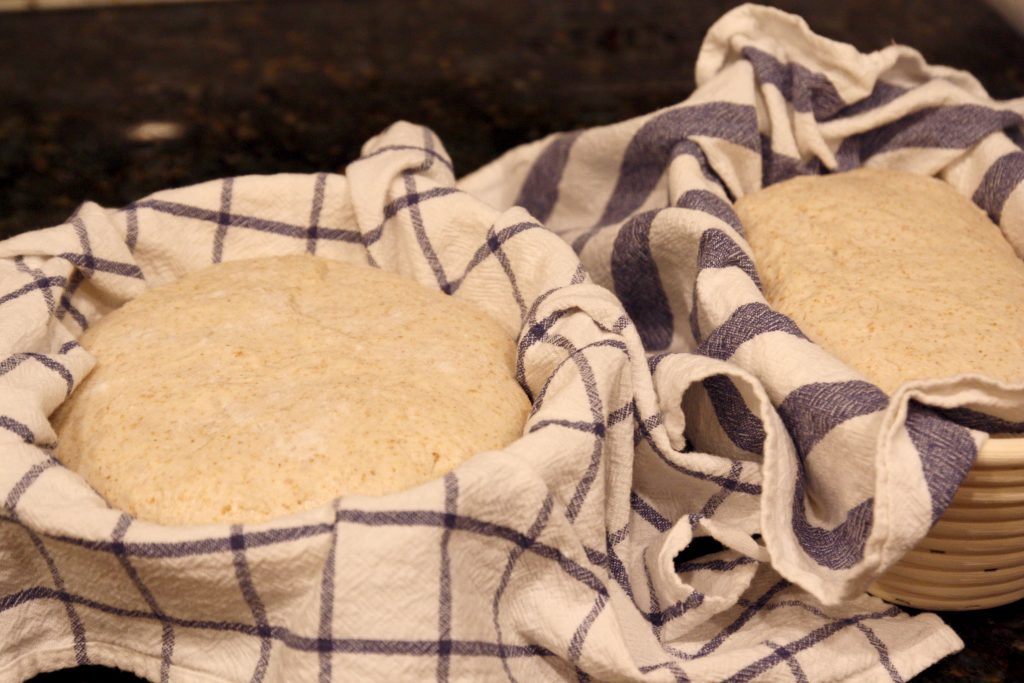
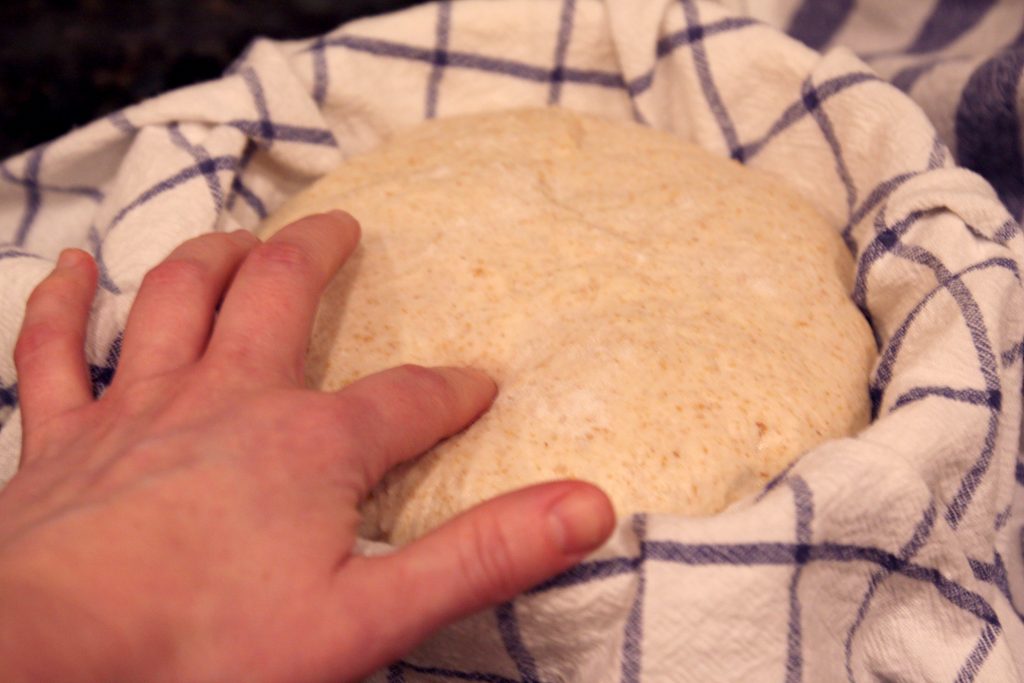
There are many ways to shape your loaves. Your shaping technique will depend on the shape of basket you’re using. Youtube has a lot of great videos to show you how to shape boules (round loaves) and batards (oblong loaves). Once your loaves are shaped, place them seam side up in prepared baskets. Sprinkle a little flour on top and cover with a tea towel. Let sit at room temperature for about an hour or until the dough springs back slowly when poked with a finger. If it springs back right away it’s not quite ready yet. If it doesn’t spring back at all or very slowly, it’s probably proofed a bit too long (it’s fine, it’ll still make great bread).
At this point you can either bake it or let it rest in the fridge. Giving it a cold rest helps develop that sourdough flavor and lets the fermentation continue which makes the gluten easier to digest. Also, cold dough is much easier to score. I usually let my shaped loaves rest for about 12-18 hours in the fridge.
When you are ready to bake, preheat your oven with the dutch oven or combo cooker inside. I preheat to 475°F and leave it at that temp for the whole bake. I’ve heard of other people preheating to 500°F and lowering the temp a bit when they put the dough in. I find that my bread gets too dark on the bottom when the oven’s that hot.
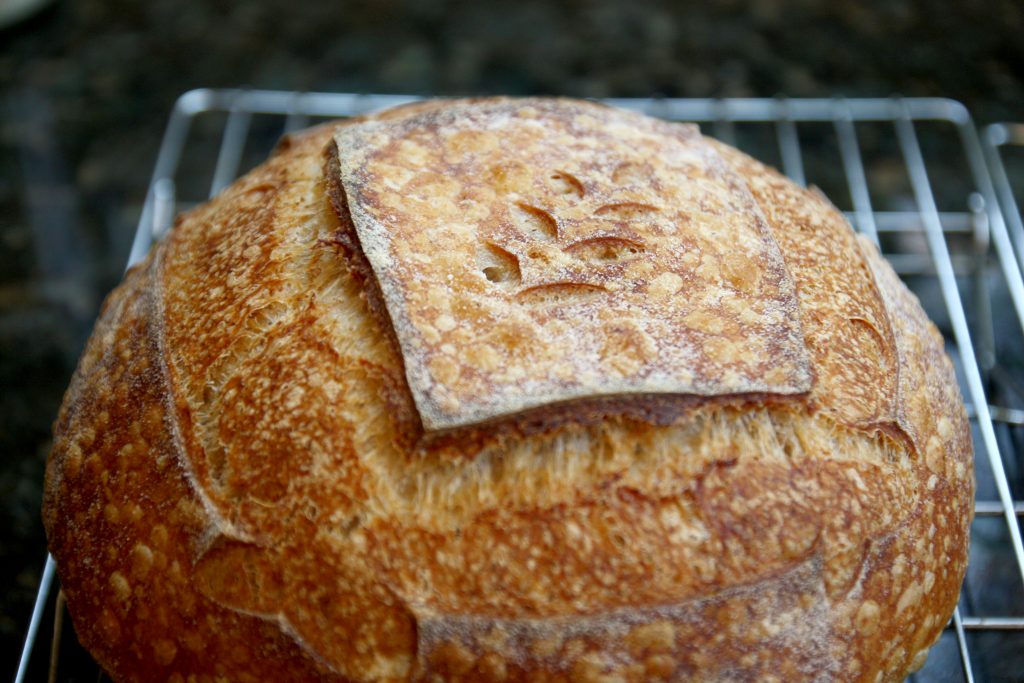
Let your oven preheat for at least 30 minutes so your cooking pot is nice and hot. When it’s ready, turn your dough out onto a piece of parchment paper (you can also place it right on the hot pot, but be careful not to burn yourself). Use a bread lame, or some kind of sharp blade to score the bread as desired. The possibilities are endless so feel free to experiment!
Place the scored loaf in your hot pan and put the lid on. If you’re using a combo cooker, place the loaf in the shallow part of the cooker and use the deep part as the lid. Carefully return the pot to the oven and bake, covered for 20 minutes. Using a lid traps the steam that evaporates from the baking dough, which keeps the crust soft enough to expand to it’s fullest potential.
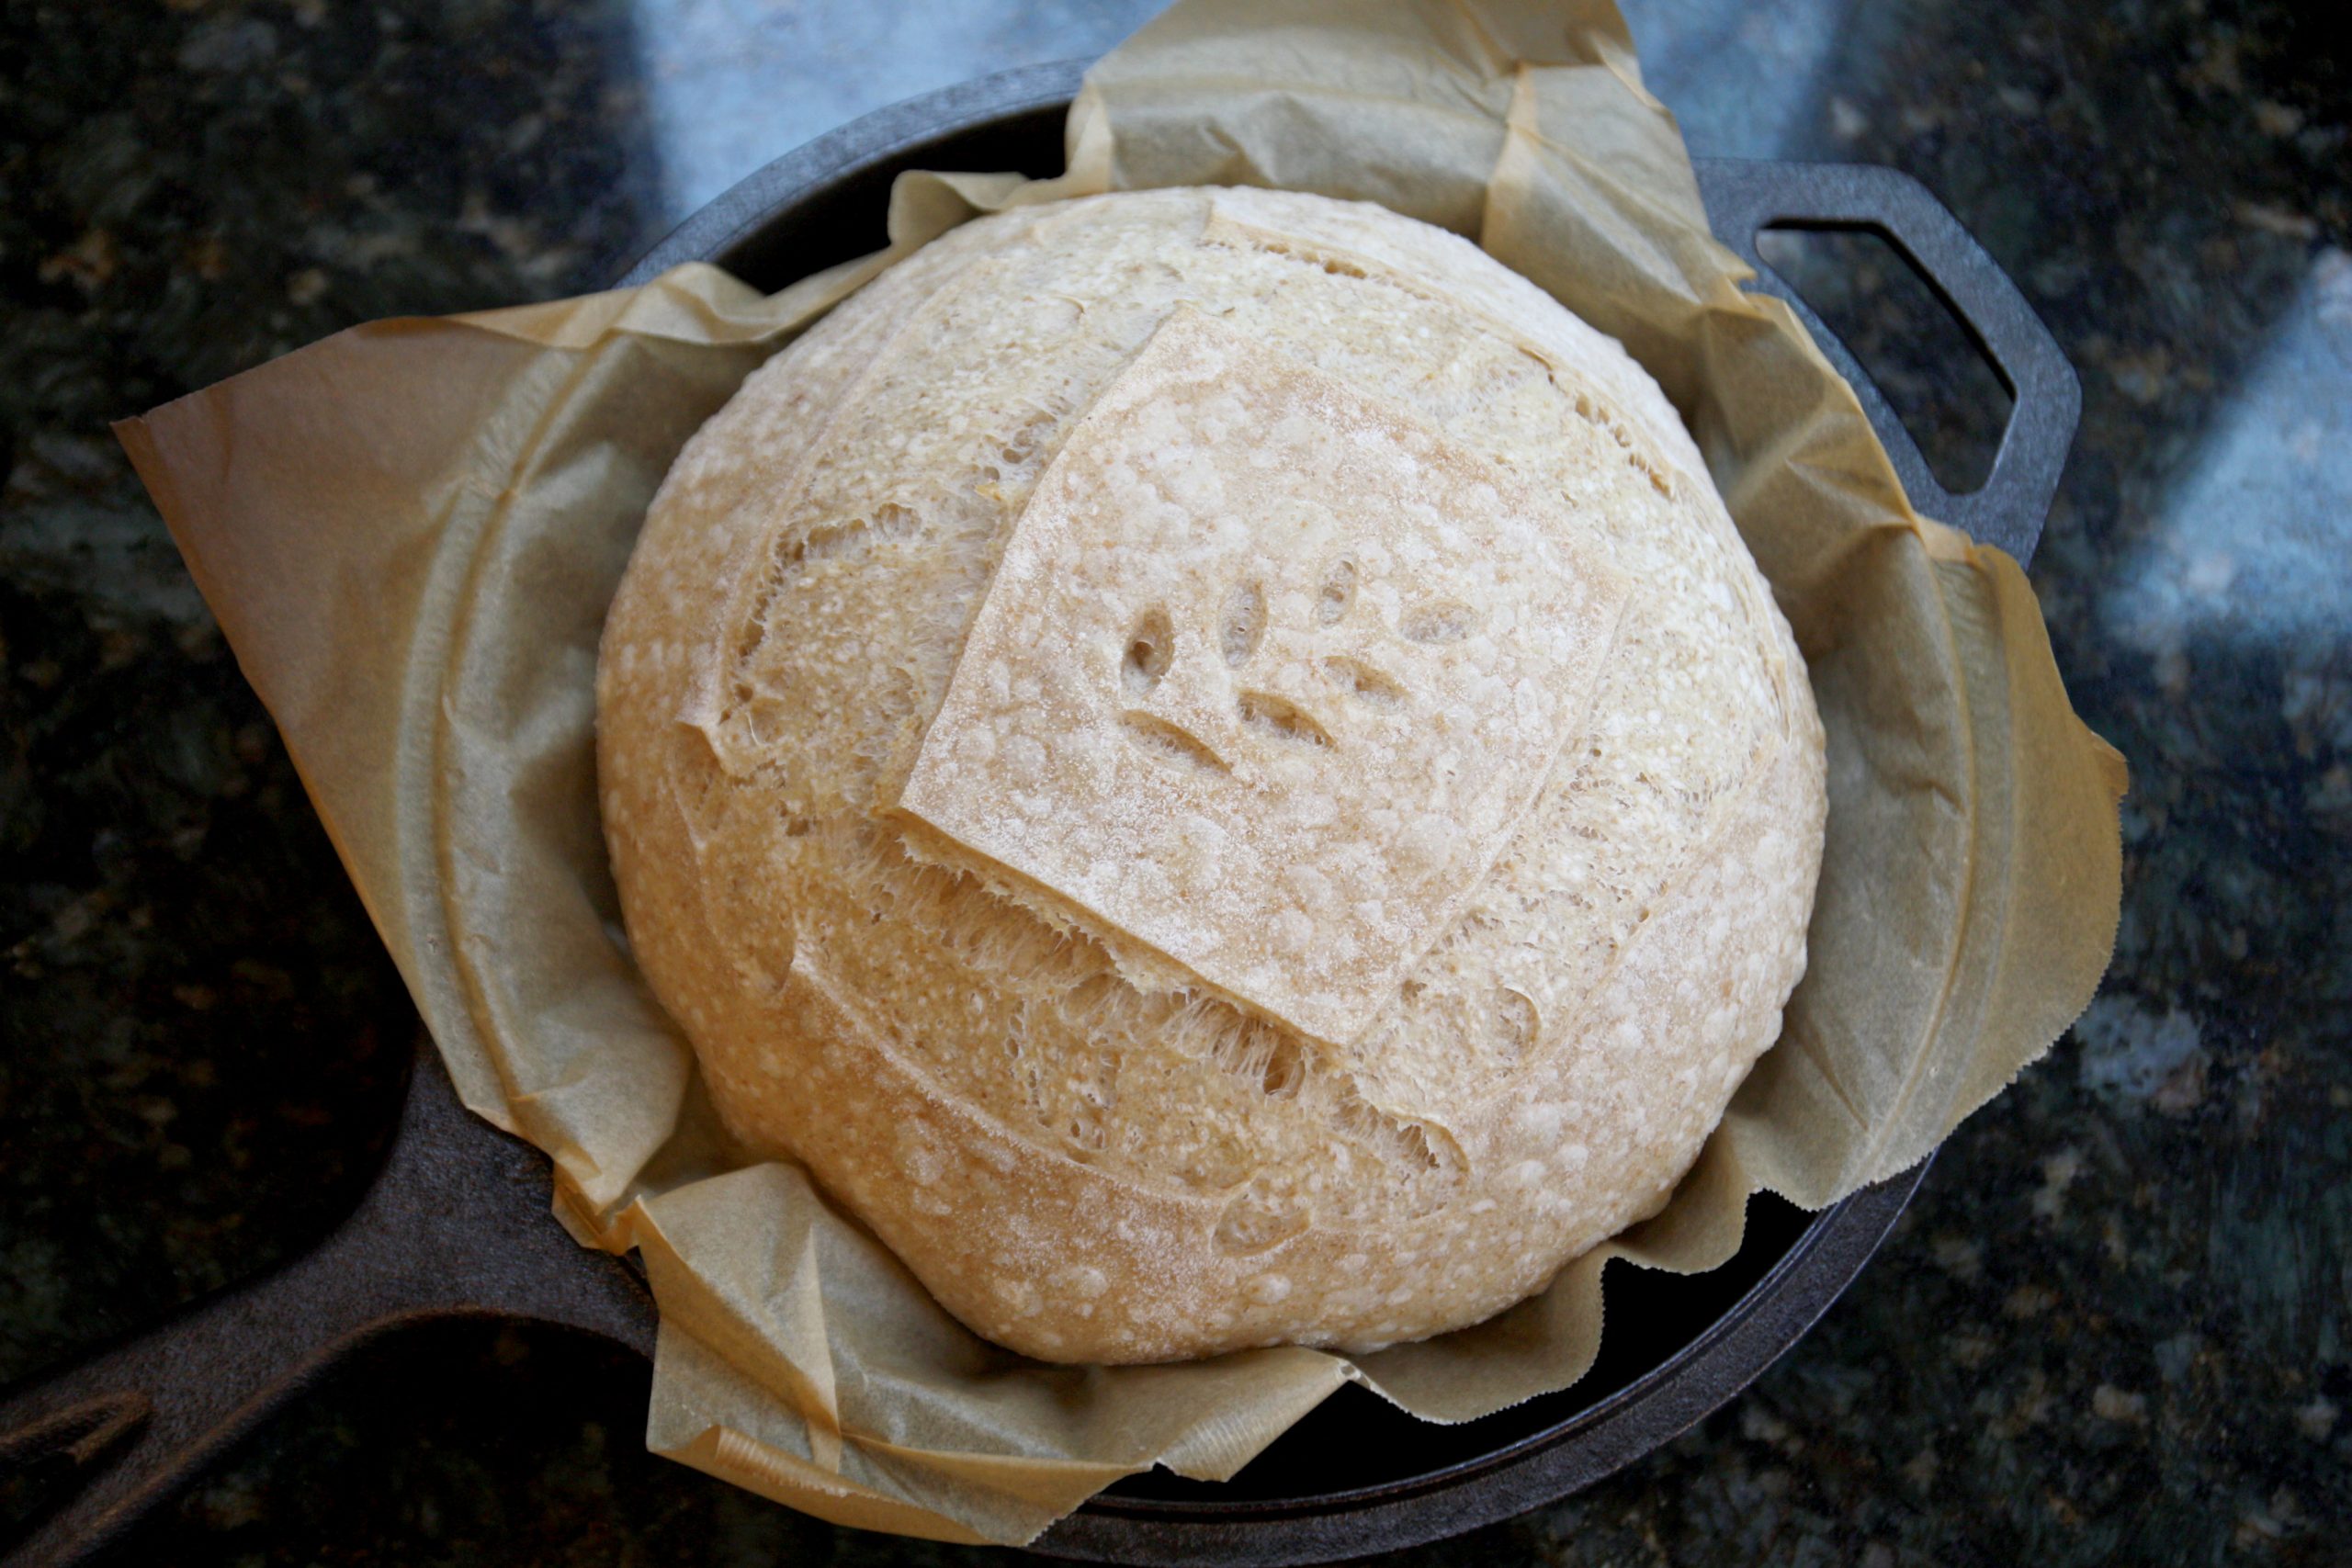
After 20 minutes of baking, carefully remove the lid (if you’re baking another loaf after this one, return the lid to the oven to stay hot). Bake for another 20 minutes or until browned to your liking.
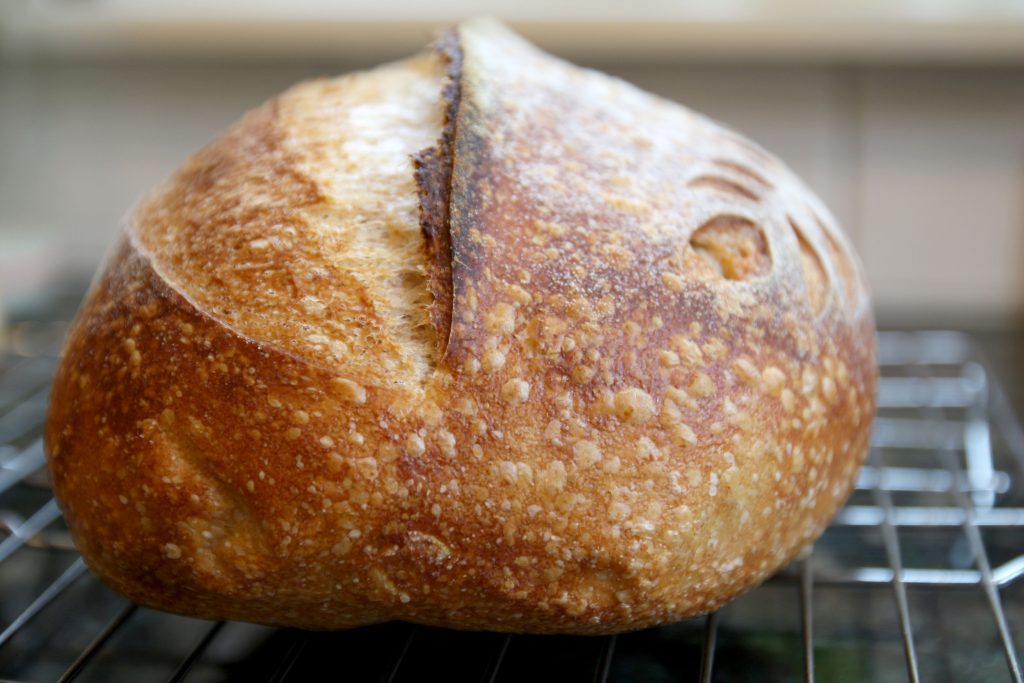
Move to a wire rack and repeat for your second loaf. Try your best to let it cool for at least an hour before cutting into it. If you cut it while it’s still hot it could get gummy.
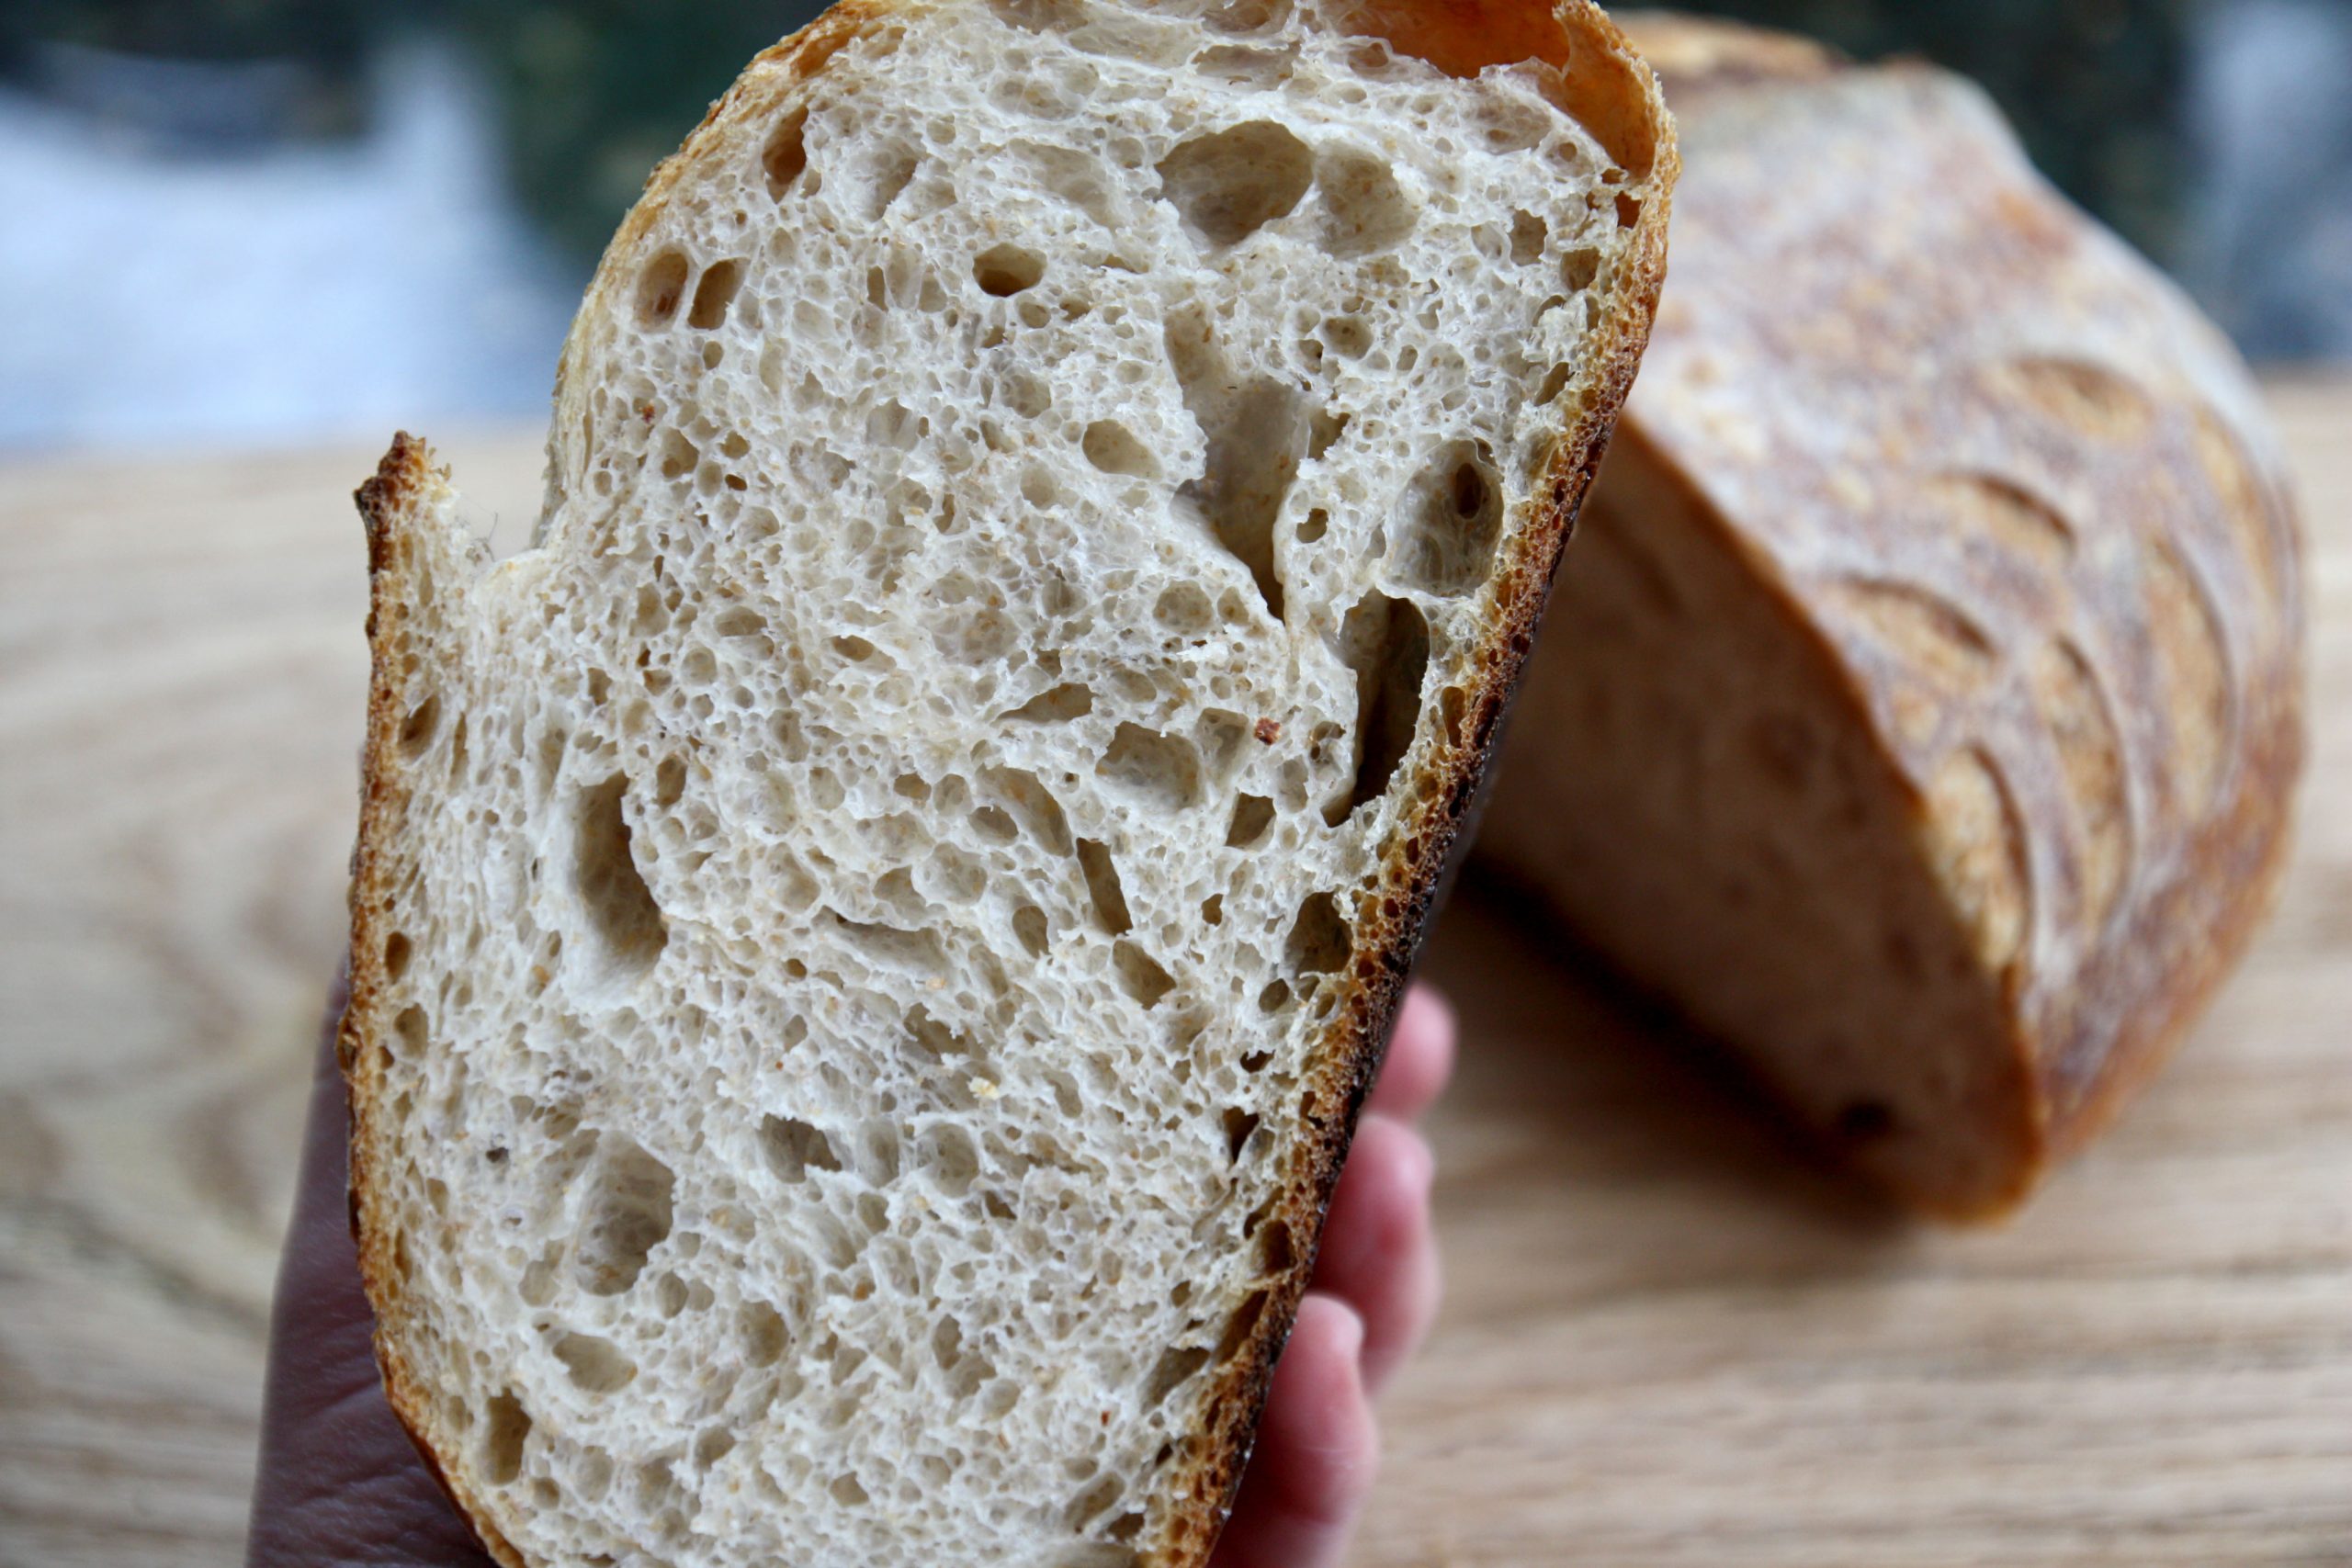
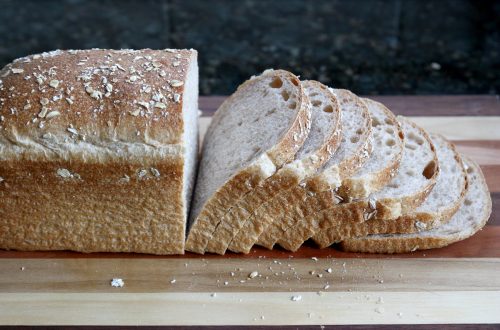
Loaves can be stored cut side down on the counter and eaten within a day or two, or stored in a plastic bag. I typically slice the entire loaf and stash it in a zip-top bag in the freezer.
If you have any questions don’t hesitate to ask! You can email me at heidi@vassarbread.com or leave a comment below.
Basic Sourdough Bread
You can make these all in one day, if you start early enough, or you can make the dough one day, refrigerate the shaped dough overnight, then bake the next day.
Ingredients
- 160g mature sourdough starter
- 520g bread flour
- 200g whole wheat flour
- 496g water
- 20g salt
Tools
- large mixing bowl
- kitchen scale
- dough whisk (optional)
- bench scraper
- bowl scraper (optional)
- proofing baskets (bannetons) or towel-lined bowl
- combo cooker, dutch oven, or large pot with oven safe lid
- parchment paper
- lame, razor blade, or sharp knife for scoring
- good oven mitts
Instructions
- Step 1: Autolyse
- In a large bowl, measure the starter, flours, and water. Using a dough whisk, wooden spoon, or even just your hand, mix until you don’t see any more dry flour. Cover the bowl and let rest for 30 min to 1 hour.
- Step 2: Add Salt and Mix
- Sprinkle salt over dough, then with wet hands use your fingers to poke the salt into the dough, then start to work it in. Lift the edge of the dough up and fold it over, then rotate the bowl and repeat. Keep doing this for several minutes. Cover and let rest.
- Step 3: Bulk Fermentation with Stretch & Folds
- For the first couple hours of bulk fermentation, do a set of stretch and folds every 30 minutes or so. With a wet hand, pull one side of the dough and stretch it, then fold it over the rest of the dough. Rotate the bowl a quarter of a turn and repeat until you’ve stretched all four sides. Then cover and let rest for another 30 minutes. The first time you do this the dough will be very stretchy. These stretch and folds build strength and you’ll notice the dough feeling stronger with each set. After those first 2 hours (4 sets of stretch and folds) are finished, cover the dough and let it ferment until about doubled. The dough will be very airy and will give a good jiggle when you shake the bowl.
- Step 4: Divide and Preshape
- Dump the dough out onto a lightly floured surface. Divide in a half and shape each half into a ball. Cover with a towel and let sit for 20-30 minutes.
- Step 5: Shape and Proof
- Prepare your bannetons. Line baskets with tea towels or liners and sprinkle with flour. If you don’t have baskets you can use bowls lined with tea towels. Take a ball of dough and flip it over with a bench knife. Shape into a boule for a round basket or bowl, or a batard for an oval basket. Place in your proofing basket seem side up. Sprinkle with a little flour, then cover and let rest for about an hour or 2, until the dough has puffed up a bit and springs back slowly after poking it with your finger.
- Step 6: Cold Fermentation (optional)
- Place bannetons in large zip-top bags and move to the refrigerator overnight. Cold fermentation helps the dough develop more of that sourdough flavor as well as helps with digestibility, and cold dough is easier to score later when you’re ready to bake.
- Step 7: Preheat Oven and Bake
- Place your combo cooker or dutch oven in the oven and preheat to 475°F. I have 2 combo cookers so I can bake 2 loaves at the same time, but you will probably need to bake yours one at a time. Give the oven a good 30 minutes to an hour to heat up so your cooking pot is nice and hot. Turn a loaf onto a piece of parchment paper and remove the basket/towel. Score it with a lame, razor blade, or sharp knife however you wish. Transfer the loaf on the parchment to the shallow side of the combo cooker or the bottom of your dutch oven. Cover and bake for 20 minutes. Remove lid (place in the oven so it stays hot for your next loaf) and bake for 20 minutes more, or until nicely browned and sounds hollow when you tap the bottom of the loaf. Move to a rack to cool and repeat with the next loaf.
- Step 8: Cool and Enjoy!
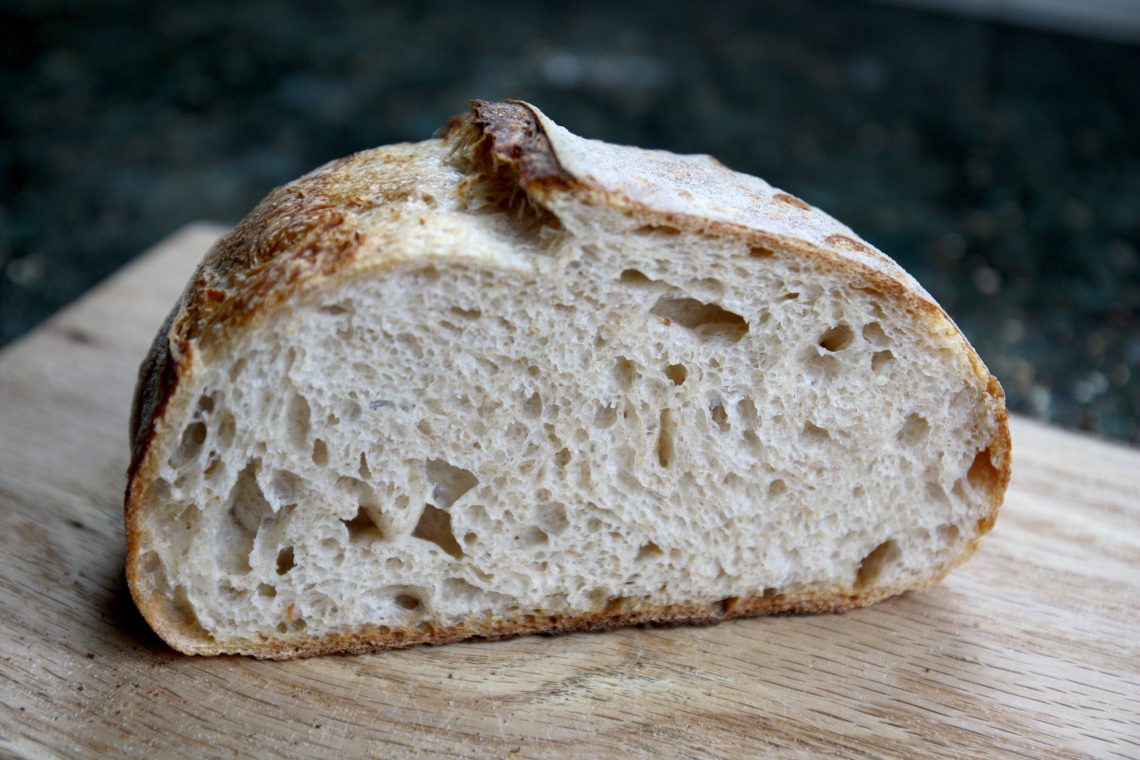
- It’s best to let the bread cool completely before cutting into it. Otherwise, the interior could get gummy. Once cooled, it can be stored in a plastic bag at room temperature. If it’s not going to be eaten right away I usually slice it and keep it in the freezer. This way it’s easy to grab a slice or two and toast it up.
This recipe uses 800g of total flour for 2 loaves. You can scale the recipe by entering a different number below. Example: enter 400 to make 1 loaf, 300 for one smaller loaf, 1000 to make 2 larger loaves, etc.
Use the amounts in the Final Dough column to make your dough.
| Total Formula | Starter | Final Dough | |||
| Ingredient | % | grams | % | grams | grams |
| all purpose flour | 10.00 | 80.00 | 100.00 | 80.00 | |
| bread flour | 65.00 | 520.00 | 520.00 | ||
| whole wheat flour | 25.00 | 200.00 | 200.00 | ||
| water | 72.00 | 576.00 | 100.00 | 80.00 | 496.00 |
| 100% hydration starter | 160.00 | ||||
| fine sea salt | 2.50 | 20.00 | 20.00 | ||
| TOTAL | 174.50 | 1,396.00 | |||


